
Motorcycle Road Salt Cleanup: A Cool-Down, Wash, Dry, and Brake-Safe Check After Winter Riding
Learn how to clean road salt off a motorcycle with a calm cool-down, gentle wash, purposeful drying, and safety-first readiness check after winter rides.
Fact-checked against cited official documentation
Reviewed against Harley-Davidson official wash guidance for cooling, controlled rinsing, compatible products, drying, and chain follow-up; NHTSA motorcycle guidance for pre-ride checks of tires, brakes, lights, fluids, and leaks..
Last updated October 14, 2026
If you are searching for how to clean road salt off a motorcycle, think beyond making the paint look better. A winter or coastal ride can leave behind a mix of salt residue, brine, grit, dirty water, brake dust, and ordinary road film. The best response is not an aggressive blast with a pressure washer, nor is it a quick rinse followed by an immediate ride.
A safer approach has four purposes:
- Remove loose contamination before it is rubbed across painted, plastic, metal, or clear surfaces.
- Give the motorcycle time to cool so cleaning is not rushed around recently hot parts.
- Dry the bike well enough to see its actual condition instead of leaving water and grime to conceal it.
- Separate cosmetic cleanup from a basic road-readiness check of tires, brakes, controls, lights, leaks, and the final drive.
Harley-Davidson identifies salt alongside dirt, bugs, asphalt, and oil as contamination that can make a motorcycle due for washing. Its wash guidance also supports cooling a recently ridden motorcycle before washing, using controlled water flow rather than high-pressure spray, using surface-appropriate cleaning supplies, and restoring chain lubrication after washing when applicable. NHTSA likewise advises riders to check tire condition and pressure, brakes, lights, fluid levels, and signs of leaks before riding. Those two ideas belong together after a salted-road ride: clean the motorcycle, then decide whether it is ready to return to traffic.
This is a manufacturer-first cleanup guide, not a repair manual. Your motorcycle’s owner’s manual is the final authority for approved cleaners, finish restrictions, drivetrain care, tire pressures, service intervals, and any warnings unique to your model. If you find a braking, steering, tire, leak, electrical, or drivetrain concern, do not treat washing as a fix.
How to Clean Road Salt Off a Motorcycle Without Rushing the First Step
The most useful moment in a road-salt cleanup is often the first few minutes after you park. Before bringing out a hose, stabilize the motorcycle on firm, level ground using its normal parking arrangement. Take off luggage or accessories only if your manufacturer’s documentation permits and you can reinstall them correctly. Then let the motorcycle cool.
Cooling is not simply about comfort. It creates a slower, more observant start to the job. Harley-Davidson cautions against washing a recently warm engine with cold water and recommends allowing it to cool first. Waiting also gives you a chance to look for clues that a normal wash should not be your only next step.
Walk around the motorcycle while it is still dirty. You are not trying to diagnose every stain. Instead, look for changes that deserve attention before another ride:
- A fresh puddle, drip, or wet area that appears to be fuel, oil, coolant, or brake fluid.
- A brake lever or brake pedal that feels different from its normal firm, predictable action.
- A tire that looks low, cut, punctured, bulged, unusually worn, or contaminated with something you cannot identify.
- A control, cable, wire, footpeg, stand, bracket, or final-drive component that looks loose, bent, frayed, or damaged.
- A warning light that remains on unexpectedly.
- A scraping noise, dragging sensation, or other abnormal behavior you noticed on the ride home.
If one of those conditions is present, pause. It may still be sensible to remove surface salt carefully, but do not assume the motorcycle is safe to ride afterward. Record what you found, consult the owner’s manual, and arrange qualified inspection where the issue could affect safe operation.
Choose a work area with stable footing and enough space to move around the motorcycle without pulling hoses, buckets, or towels beneath the wheels. Shade is useful when available because it gives you more time to work before wash solution dries on the surface. Remove rings, watches, or hard belt hardware that could contact paint, clear plastic, polished metal, or trim. Read every product label before use. A household cleaner, abrasive pad, tire shine product, or all-purpose solvent is not automatically appropriate for a motorcycle surface.
The aim is not to make every inaccessible gap look factory-new. The aim is to remove visible residue safely, avoid creating a new contamination problem, and expose the condition of the motorcycle so you can make a sound riding decision.
What to Gather for a Motorcycle Road Salt Cleanup
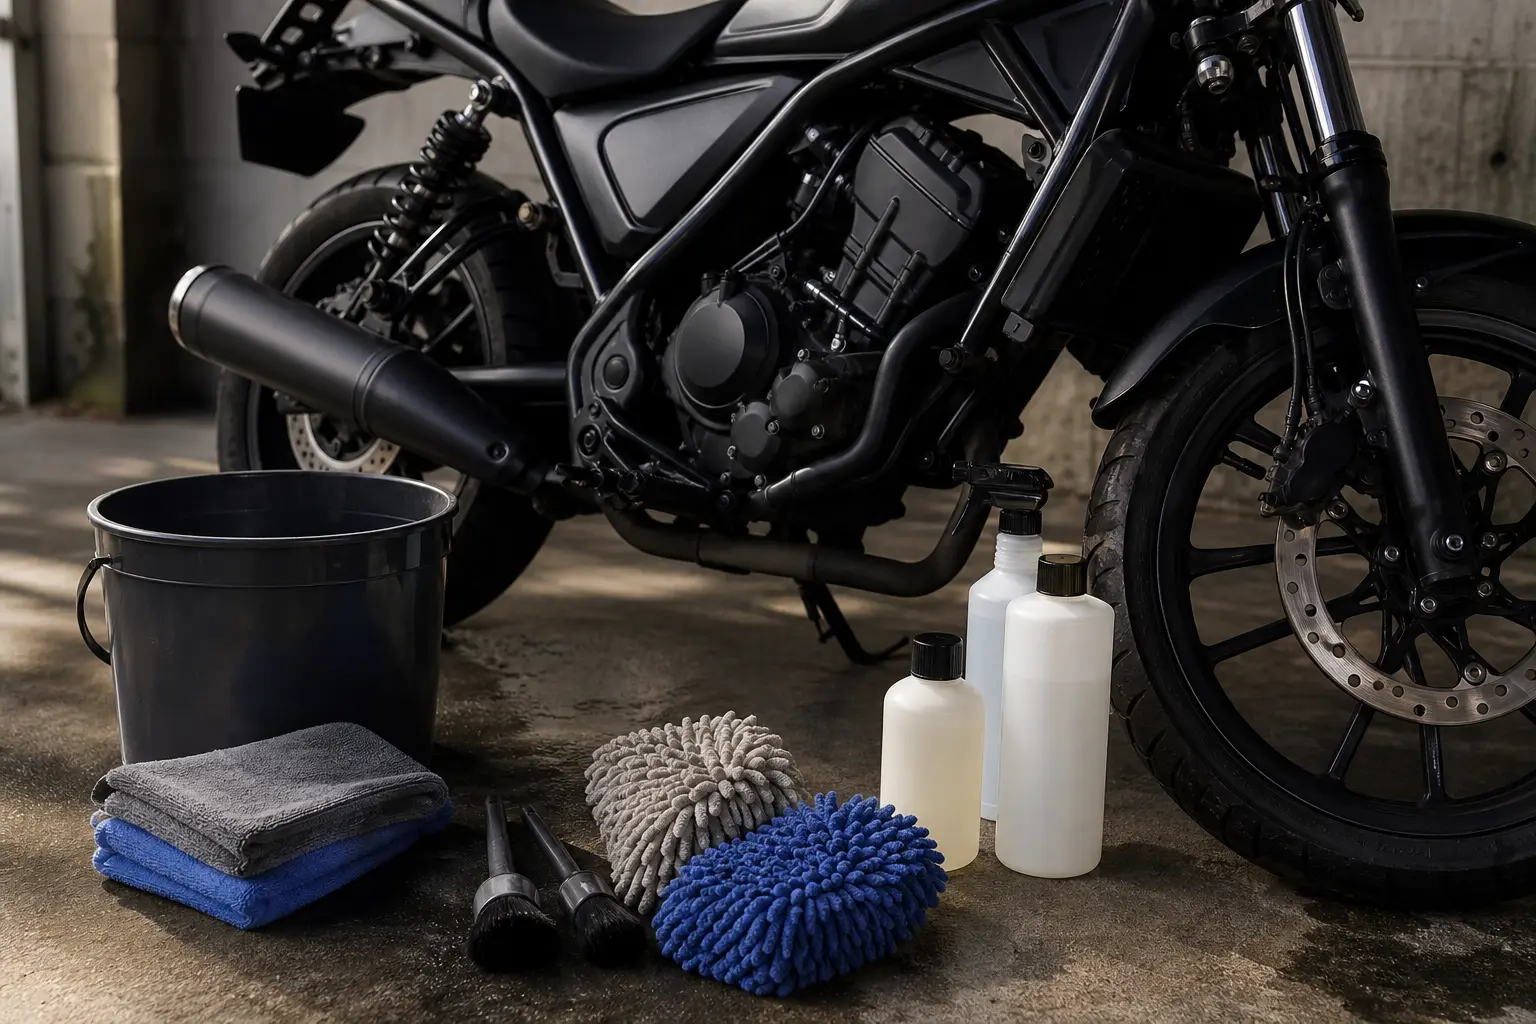
A good salt-cleanup kit is simple and deliberately separated by task. Keep the tools used around tires, wheels, and lower road-spray areas away from the tools used on painted panels, clear windscreens, and other easily marked surfaces.
| Item | Practical role | Safety or finish boundary |
|---|---|---|
| Adjustable hose nozzle or gentle water source | Carries away loose salt film and grit before contact washing | Do not use forceful spray as a default around sensitive motorcycle parts |
| Motorcycle-compatible wash product | Helps lift remaining road film from approved exterior surfaces | Confirm it suits the exact finish and follow the label directions |
| Two buckets or a clean-rinse method | Helps keep dirty wash media from being reused immediately | Replace or rinse wash media when it picks up grit |
| Soft wash mitt or sponge | Provides light-contact cleaning on suitable painted and plastic surfaces | Do not use it once it has been contaminated by wheel grit |
| Dedicated wheel and lower-area tools | Cleans the dirtiest accessible zones without spreading grime elsewhere | Keep them away from paint, windscreen, and delicate trim |
| Clean microfiber drying towels | Removes standing water and improves visibility during inspection | Use clean towels; a dirty towel can drag grit across the finish |
| Model-approved drivetrain product, if relevant | Supports required follow-up for a chain-drive motorcycle | Do not apply chain products to belts, shafts, tires, or brake parts |
| Tire-pressure gauge and a good light | Supports a post-wash readiness check | They support inspection; they do not diagnose hidden faults |
Harley-Davidson’s official washing guidance lists an adjustable hose nozzle, motorcycle-formulated soap, wash media, brushes, microfiber or chamois drying cloths, and a bucket among the basic supplies. It also notes that some finishes require a particular product or method, which is why the exact motorcycle manual matters more than a generic online product list.
Avoid treating this table as a reason to buy a shelf full of chemicals. More products can create more compatibility questions. Matte paint, polished metal, chrome, bare aluminum, vinyl, leather, textured plastic, painted wheels, windscreens, rubber, and luggage materials can all have different care limitations. If you cannot confirm that a product is suitable, use a conservative wash-and-rinse approach on that surface or ask the manufacturer or a qualified service provider for guidance.
How to Remove Road Salt: Rinse First, Then Wash by Zone
The main mistake in salt cleanup is rubbing before loose grit has been carried away. Road salt is rarely the only thing on the motorcycle. It commonly arrives with sand, fine aggregate, dark meltwater, and other abrasive debris. Starting with hard contact can turn cleaning into unnecessary finish damage.
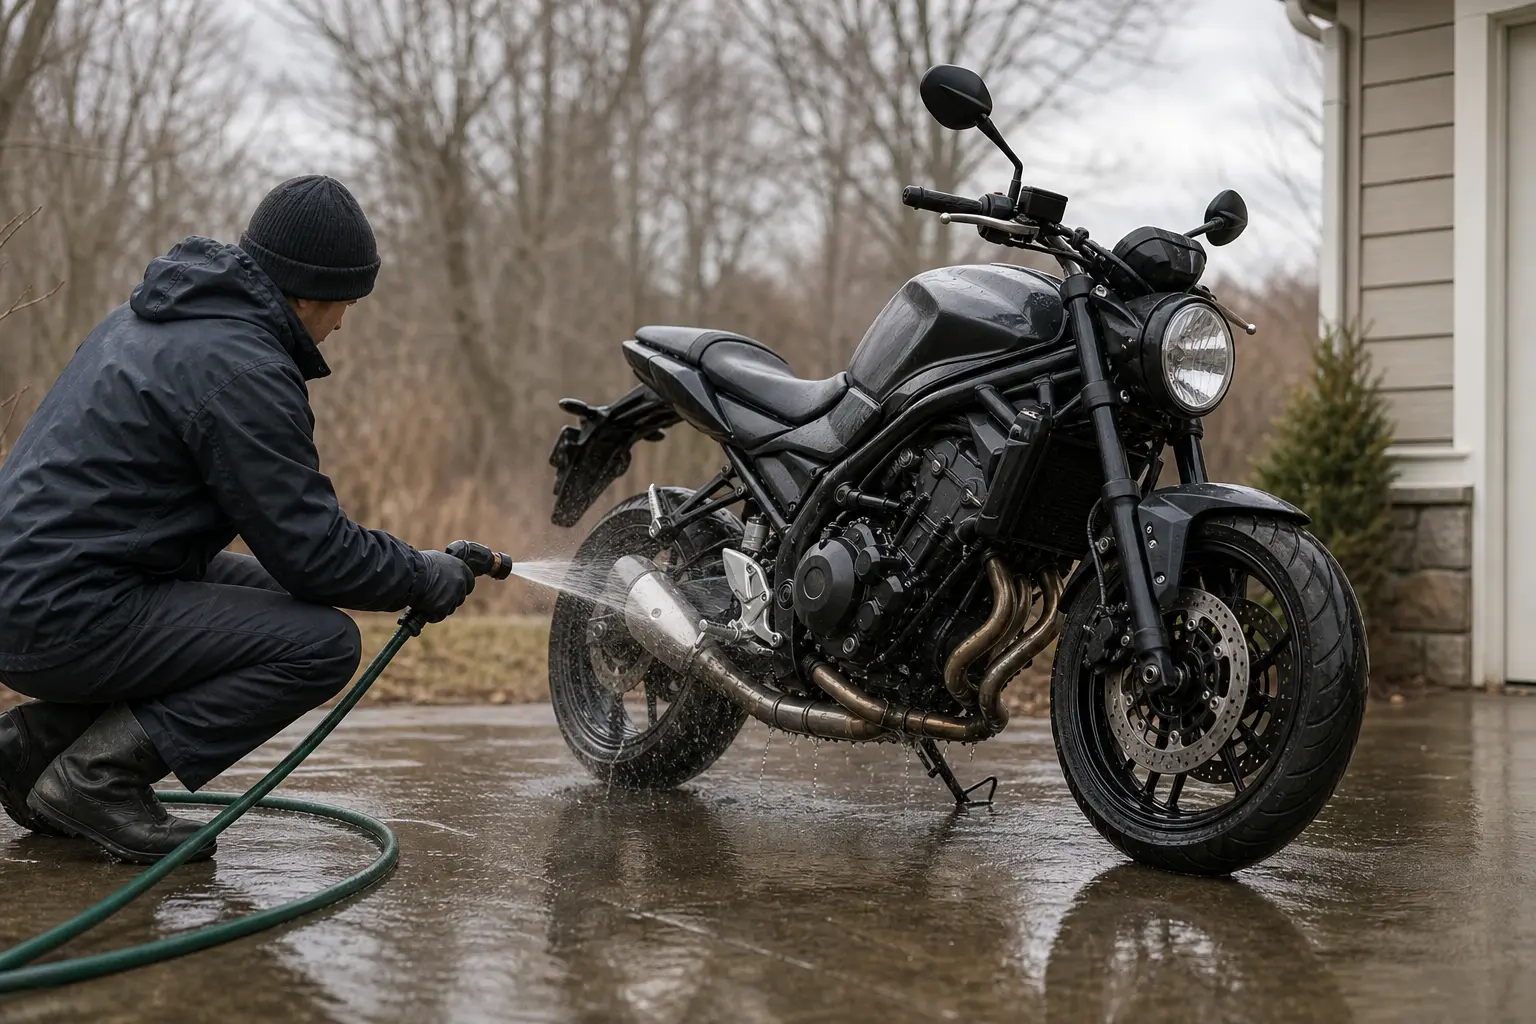
Begin with a measured rinse. Harley-Davidson recommends cool water and warns against high-pressure washing because some motorcycle components can be sensitive. Direct the water so it carries visible deposits away rather than forcing water into every seam, connector, bearing area, or protected opening.
Start with the parts that receive the greatest road spray, but do not confuse attention with aggression. Accessible areas that often deserve a look include:
- Fender undersides and splash-prone lower bodywork.
- Wheel areas and the outside of the tires.
- The lower engine exterior and accessible guards or covers.
- Foot controls, stands, brackets, and exposed fasteners.
- Swingarm and final-drive surroundings.
- Lower edges of panniers, racks, or body panels.
You are not trying to flush the entire motorcycle from the inside out. If salt residue remains after a normal rinse, let compatible wash solution loosen it. Do not jump to scraping, stiff improvised tools, or a strong unapproved chemical simply because one patch looks stubborn.
After the first rinse, wash in zones. Start with the cleaner, higher exterior surfaces, then move toward the lower and dirtier areas. This is not a rigid ritual; it is a way to reduce the chance that grit collected near the tires is transferred to a tank, painted fender, fairing, or windscreen.
Use a light hand. Harley-Davidson recommends gently washing with a mitt and clearing trapped particles from it during the process to help avoid scratches. For this article’s purpose, that means stopping to rinse or replace your wash media whenever it no longer feels clean. A cloth or sponge that has picked up winter grit is no longer a finish-care tool.
Be especially cautious around surfaces that have their own care requirements. Matte and satin finishes should not be handled as if they benefit from the same polishing behavior as gloss paint. A clear windscreen is not a metal panel. Leather, vinyl, and rubber can have product limitations. Let the manual and the product label govern those decisions.
Wheels, Tires, Brakes, and Final Drive: Keep Their Boundaries Clear
Winter grime tends to collect heavily around wheels and lower components, making them a natural focus during a salt cleanup. Harley-Davidson’s wash guidance directs attention to road grime and brake dust around tires and wheels early in the wash process. That is useful, but it does not make every nearby component a target for cleaners, protectants, or lubricants.
Think in separate zones.
The wheel-and-tire zone needs contamination removed without leaving slippery or unsuitable products on the tire. Inspect the tire while you work. Look for obvious cuts, embedded objects, bulges, unusual wear, or a condition that suggests pressure loss. Confirm pressure against the specification for your motorcycle and current load, using the owner’s manual rather than the number molded into the tire sidewall. NHTSA specifically includes tire pressure and tread depth among its before-ride checks.
The brake zone needs restraint. Do not spray shine products, chain lubricant, waxes, dressings, or protectants onto brake-related parts. A wash is not a brake inspection or a substitute for service. Once the motorcycle is dry, confirm that the front and rear brake controls feel normal while stationary. If the lever or pedal feels soft, inconsistent, unusually long-travel, or otherwise unlike normal, do not test your luck on the road. Arrange a qualified assessment.
The chain-drive zone needs manual-specific follow-up. Harley-Davidson says soap and water can remove chain lubricant and recommends relubrication afterward. That does not establish a universal lubricant, amount, adjustment standard, or application technique for every motorcycle. Follow your exact manual. If you notice corrosion, tight links, damage, abnormal noise, a missing fastener, or an adjustment concern, do not use a cosmetic cleanup to postpone inspection.
The belt- or shaft-drive zone is different. Do not use chain products just because they are part of your usual wash kit. Examine accessible surfaces visually, clean only as the manufacturer permits, and escalate visible belt damage, missing material, cracking, unknown contamination, or an abnormal driveline concern rather than guessing.
The point of separating these zones is practical: a product intended for one purpose can be unsuitable in another place. A clean-looking tire or rotor is not automatically a safe one, and a freshly washed final drive is not proof that it is within specification.
Drying Road Salt Cleanup Water Out of Sight
A final rinse removes wash residue, but drying is what turns a washed motorcycle into one you can inspect clearly. Harley-Davidson advises rinsing from the top down after the wash stage and lists microfiber drying cloths among the recommended supplies.
Use clean towels on broad surfaces first. Blot or wipe carefully rather than pressing remaining grit across a panel. Then look for accessible places where water can sit or continue to run later: lower edges of panels, around brackets, beneath visible trim, at stand areas, near foot controls, and around accessible fasteners.
Do not dismantle components solely to chase every drop of water unless the manufacturer’s routine specifically calls for it. The purpose is not a deep teardown. It is to remove standing water you can reach safely and make a better visual check possible.
A slow drying pass often reveals concerns that road grime concealed:
- Chipped paint or damaged coating.
- A loose-looking clip, fastener, or bracket.
- An oily or wet area that returns after wiping.
- A torn rubber boot or frayed cable outer covering.
- A damaged lens, reflector, or electrical housing.
- A stain near a brake, wheel, or tire that needs professional attention.
If you see an issue, take a clear photo before applying anything else. That preserves a useful record and avoids the uncertainty of trying to remember what the area looked like before the next ride.
Do not rely on riding fast to dry the motorcycle. A short movement may shed some water, but it cannot replace a deliberate visual check, and it should never be used to dismiss an abnormal control feel, warning indication, leak, or tire concern.
Brake-Safe and Road-Ready Check After a Salt Wash

A motorcycle can be clean without being ready to ride. Before returning to traffic, make a calm, parked-bike assessment based on the things that matter most for safe operation.
NHTSA recommends checking tire pressure and tread depth, hand and foot brakes, lights and signal indicators, fluid levels, and leaks before riding. Use that as a simple structure after washing, while recognizing that your motorcycle’s manual supplies the model-specific details.
Start with a reset of the work area. Make sure no towel, rag, brush, bottle, hose, temporary cover, or loose tool remains on or beneath the motorcycle. Confirm that the seat, luggage, and any accessory you removed are back in their normal secure condition.
Then make these non-repair observations:
- Tires and wheels: Look for clear damage, foreign objects, or a visibly low tire. Check pressure to the manufacturer’s specified setting for the motorcycle’s present load.
- Brakes: Operate front and rear controls while stationary. They should feel normal for your motorcycle. Stop the ride plan if anything feels weak, spongy, unusually long, sticky, or different.
- Throttle, clutch, shifter, and rear brake pedal: Confirm that nothing is obstructed and that operation feels normal. A control that sticks, binds, or feels damaged is not a wash-and-ride issue.
- Lights and indicators: Check that lighting and warning indications behave normally. A new warning or inoperative lamp deserves attention before riding in traffic.
- Leaks and fluid evidence: Look beneath the motorcycle and around accessible fluid-containing areas. A persistent drip or unexplained wetness should be treated as a reason to pause.
- Stands and obvious chassis hardware: Confirm that the side stand or center stand functions normally and that no visible item appears loose or damaged.
If every result is normal, your first movement should still be conservative. Use a low-risk area away from traffic, tight turns, steep grades, passengers, and pressure from other road users. Move smoothly and make only a brief functional confirmation. This is not a braking performance test, a high-speed drying technique, or a substitute for service. It is a final check that the motorcycle behaves normally after the cleaning session.
Stop immediately if the motorcycle pulls, the brakes feel unfamiliar, the steering or controls feel wrong, a warning appears, or anything about the tire response gives you doubt. Cleaning should improve confidence through visibility, not create false confidence.
Road Salt Cleanup Checklist
Use this checklist after exposure to treated roads, liquid brine, slush, dirty thaw puddles, or salty coastal spray.
Before washing
- Park on stable, level ground using the motorcycle’s normal parking method.
- Let recently ridden parts cool before adding water.
- Read the owner’s-manual cautions for finishes, cleaning products, and final-drive care.
- Set out clean wash media and separate wheel-area tools from paintwork tools.
- Look for leaks, damaged tires, abnormal controls, warning lights, or visibly damaged final-drive parts.
- Pause the ride plan if you find a condition that could affect braking, steering, traction, lighting, or fluid containment.
During the wash
- Start with a controlled rinse to carry loose salt and grit away.
- Avoid treating high-pressure spray as the default cleaning method.
- Wash cleaner upper surfaces before heavily contaminated lower areas.
- Rinse or replace wash media once it picks up visible grit.
- Keep tire, wheel, and lower-road-spray tools separate from windscreen and paint tools.
- Use only cleaners approved for the material being cleaned.
- Keep lubricants, dressings, and protectants away from tires and brake-related parts unless the manufacturer expressly permits them.
- Follow the manual’s required chain-care guidance if your motorcycle has a chain.
After washing
- Rinse away remaining wash solution.
- Dry broad surfaces and accessible places where water collects.
- Photograph any damage, recurring wetness, or suspicious residue.
- Remove all cleaning items from the motorcycle and the space around its wheels.
- Check tire condition and pressure against your motorcycle’s specified setting.
- Confirm normal operation and feel of the brakes and rider controls while parked.
- Confirm lights, signals, and warning indicators behave normally.
- Make only a short, cautious functional check before joining traffic.
- Log the salt exposure and any follow-up needed.
When Cleaning Road Salt Is Not Enough
Washing has a real maintenance value because it lets you see the motorcycle again. But it cannot correct a damaged tire, a leaking hydraulic system, a bent lever, deteriorated wiring, a worn drivetrain, or an abnormal brake feel.
Arrange qualified service rather than continuing to ride if you find:
- A brake control that is soft, inconsistent, unusually long-travel, or visibly leaking.
- A tire cut, bulge, embedded object, pressure loss, or other defect.
- A continuing fluid leak or strong fuel odor.
- A throttle, clutch, brake, steering, stand, or shift-control concern.
- A damaged chain, belt, wheel, electrical lead, or mounting point.
- A warning light or fault indication that does not behave normally.
- Corrosion or coating damage that looks severe enough to affect a component rather than merely its appearance.
Exposure matters more than a calendar date. A motorcycle used once on a mostly dry road may need a simple cleanup. A commuter that repeatedly encounters salted slush, wet brine, standing meltwater, or coastal spray needs a more regular wash-and-inspect habit. Let the amount of exposure determine how promptly you clean, but let the owner’s manual determine any scheduled maintenance that cannot be verified by appearance.
For a broader system that connects cleaning with fluids, brakes, tires, controls, and service planning, visit the Motorcycle Maintenance Guide.
How Vojo Helps
After a ride on treated roads, create a Salt Exposure Cleanup entry in the Vojo Motorcycle Service History. Record the route conditions, date, areas cleaned, products used, and whether your motorcycle’s manual required chain follow-up. Add photos of any chipped coating, recurring wetness, or damaged-looking part you found during drying, then create a separate follow-up task for anything that needs inspection rather than marking it as resolved with the wash.
That workflow keeps a completed cleanup distinct from an unresolved safety observation. Over a winter season, it also helps you see whether the same area repeatedly collects residue or whether a small concern is changing between rides.
Download Vojo on the App Store
FAQ
How soon should I clean road salt off a motorcycle?
Clean it as soon as reasonably practical after meaningful salt, brine, slush, or coastal-spray exposure. Do not rush to wash a hot motorcycle; park safely, allow it to cool, and make a quick check for leaks, tire concerns, control changes, or warnings first.
Can I use a pressure washer to clean salt off my motorcycle?
Do not assume a pressure washer is suitable for every motorcycle or every area of one motorcycle. Harley-Davidson advises avoiding high-pressure spray because some parts can be sensitive. A controlled rinse is the more conservative default unless your own manufacturer specifically says otherwise.
Do I need to lubricate a motorcycle chain after washing?
A chain-drive motorcycle may need manual-specified follow-up after washing. Harley-Davidson notes that soap and water can remove chain lubricant. The correct product, amount, and application method depend on the motorcycle, so use the owner’s manual rather than a universal chain-care rule.
Should I put protectant or tire shine on the motorcycle after a salt wash?
Only use a product where the manufacturer and its label say it is compatible with that exact surface. Do not apply shine products, dressings, lubricants, waxes, or protectants around tires or brake-related parts unless your motorcycle documentation explicitly permits it.
What should I inspect before riding after washing the motorcycle?
Check tire condition and specified pressure, normal front and rear brake feel, control operation, lights and indicators, visible leaks, secure equipment, and the condition of the final drive. NHTSA includes tires, brakes, lights, fluid levels, and leaks in its before-ride guidance. If anything is abnormal, do not ride until the concern has been assessed.
Is a road-salt wash only cosmetic maintenance?
No. Appearance is part of the benefit, but a clean and dry motorcycle also makes it easier to spot damage, leaks, loose hardware, worn tires, or residue that dirt had hidden. The wash does not diagnose or repair those problems; it gives you a clearer opportunity to notice them.
Sources and manufacturer guidance
This article was fact-checked against Harley-Davidson’s official motorcycle-washing guidance and NHTSA’s official motorcycle-safety guidance. Harley-Davidson supports the cool-down, controlled-rinse, compatible-cleaner, careful-drying, and chain-follow-up principles. NHTSA supports the before-ride focus on tires, brakes, lights, fluid levels, and leaks. Always use your own model’s owner’s manual for the final decision on products, procedures, specifications, and service requirements.
Quick answers
Frequently asked questions
How soon should I clean road salt off a motorcycle?
Clean it as soon as reasonably practical after meaningful salt, brine, slush, or coastal-spray exposure. Let the motorcycle cool first, then screen for leaks, tire concerns, control changes, and warnings before starting.
Can I use a pressure washer to clean salt off my motorcycle?
Do not assume high-pressure washing is suitable for every area of every motorcycle. Use controlled water flow as the conservative default and follow your exact owner’s manual for any model-specific cleaning limits.
Do I need to lubricate a motorcycle chain after washing?
For a chain-drive motorcycle, follow the owner’s manual after washing. Soap and water can affect chain lubrication, but the approved product and method are model-specific.
Should I use tire shine or protectant after salt exposure?
Use only products approved for the particular surface. Keep products not expressly approved for those areas away from tires and brake-related parts.
What should I check before riding after a salt wash?
Check tire condition and specified pressure, normal brake and control feel, lights and warning indicators, visible leaks, secure equipment, and the final drive. Make only a cautious low-speed functional confirmation if everything appears normal.