
How to Clean and Lubricate a Motorcycle Chain Without Damaging It
A manufacturer-first guide to cleaning, inspecting, lubricating, and checking a sealed motorcycle drive chain safely—without guessing at solvents, slack, or service intervals.
Fact-checked against cited official documentation
Reviewed against Existing Vojo articles supplied in the prompt, with special comparison against /blog/when-to-change-chain to avoid duplicating its replacement-and-wear focus..
Last updated August 31, 2026
Keeping a motorcycle’s final-drive chain clean and lubricated is simple in principle, but the details matter. A chain is not merely exposed metal that needs to look shiny. Many street motorcycles use sealed chains with O-rings, X-rings, or similar seals. The seals retain factory lubricant around the pins and bushings, while the outside of the chain still needs cleaning, corrosion protection, and appropriate lubrication.
The safest rule is also the most useful one: start with your motorcycle’s owner’s manual. It defines the correct slack measurement location, the acceptable range, inspection points, products, adjustment process, and any model-specific cautions. Do not borrow a slack figure, tightening torque, or maintenance interval from another motorcycle—even one that looks nearly identical.
Harley-Davidson’s chain-care guidance specifically warns against high-pressure or steam cleaning, hard or wire brushes, gasoline or benzene, abrasive cleaners, and products not intended for the chain’s seal type. Ducati’s final-drive bulletin likewise warns against fuels, solvents, steam, and hard brushes that can harm O-rings. (harley-davidson.com) That gives riders a clear priority: preserve the chain seals first, then remove contamination without turning routine maintenance into premature drivetrain wear.
What chain service is—and is not
Routine chain service has four separate jobs:
- Inspect the chain, sprockets, master link, guide, and adjustment condition.
- Remove loose dirt and old external residue with a chain-safe cleaner and a soft tool.
- Dry the chain fully.
- Apply the lubricant specified or accepted by the motorcycle manufacturer, then remove obvious excess.
It is not an excuse to force solvent into every joint, pressure-wash the seals, or compensate for wear with a heavier coating of lube. Lubricant can reduce external corrosion and help the chain articulate smoothly, but it cannot repair tight links, worn sprocket teeth, damaged seals, an incorrectly installed master link, or a chain that exceeds its service limit.
| Task | Purpose | Manufacturer-first approach | Do not do this |
|---|---|---|---|
| Initial inspection | Find damage before cleaning hides it | Compare slack and wear checks with your owner’s manual | Assume a quiet chain is automatically safe |
| Cleaning | Remove road grit and built-up residue | Use a cleaner identified as safe for motorcycle drive chains and seals | Use gasoline, benzene, aggressive solvents, steam, or pressure washing |
| Brushing | Lift contamination from plates, rollers, and sprocket teeth | Use a soft chain brush or soft nylon brush | Use wire brushes or stiff abrasive brushes |
| Drying | Prevent cleaner dilution and surface corrosion | Wipe carefully with clean lint-free cloths | Apply lube over pooled cleaner or water |
| Lubrication | Protect the chain’s exterior and support smooth movement | Use the chain lubricant and application method your manual specifies | Saturate the tire, brake components, or surrounding surfaces |
| Adjustment | Maintain the designed chain operating range | Measure at the manual’s stated point and adjust using its procedure | Copy another model’s slack number or axle torque |
Safety comes before the stand
Before touching the chain, choose a stable, well-lit, ventilated place. Turn the ignition off, place the transmission in neutral, and allow hot exhaust parts to cool. Use only a stand or support method approved for your motorcycle. If you cannot securely support the motorcycle while maintaining control of the rear wheel, do the job with the wheel on the ground and reposition the motorcycle carefully as needed, or have a qualified technician perform the work.
For inspection, Ducati’s published procedure calls for raising the rear wheel with a suitable stand and rotating it slowly by hand. (static.nhtsa.gov) That is the right mindset for cleaning as well: work deliberately, move the wheel by hand, and keep fingers, cloths, hair, and loose clothing away from the chain and sprockets.
Do not run the engine or select a gear just to spin the rear wheel while you clean or lubricate the chain. The convenience is not worth placing hands and cleaning tools near a moving sprocket and chain.
Also pause if you see a visibly damaged master link, missing seal, cracked plate, severe rust, a chain that binds, or sprocket teeth that look hooked or uneven. Cleaning can make a drivetrain easier to inspect, but it should not be used to postpone a repair decision. Ducati identifies oxidation, squeaks or noise, stretching, and stiff joints as signs associated with poor chain lubrication. (static.nhtsa.gov)
The practical process: clean, dry, lubricate, inspect
1. Confirm the chain type and your manual’s requirements
Open the maintenance section of the owner’s manual before buying products or loosening any axle hardware. Confirm whether the motorcycle has a sealed or unsealed chain, where chain slack is measured, and whether the manufacturer names a particular cleaner or lubricant.
If your manual calls for a specific product, use it. If it gives a product category instead, choose one that explicitly states compatibility with your chain’s seals. Honda, for example, sells a dedicated chain cleaner described as safe for all drive-chain types and intended to prepare a chain for re-oiling. (powersports.honda.com) That does not make every spray bottle on a garage shelf suitable; it shows why a chain-specific cleaner is a better starting point than improvising with fuel or a general-purpose solvent.
2. Inspect before you wash away evidence
Look along the entire visible run of chain. Turn the rear wheel by hand a small amount at a time and check for:
- rusty or dry-looking areas;
- damaged, missing, flattened, or displaced seals;
- plates that appear bent, cracked, or unusually corroded;
- rollers or links that do not move freely;
- a suspect master link or its retaining hardware;
- uneven chain tension as the wheel turns;
- worn, broken, or unusually shaped sprocket teeth; and
- rubbing at the chain guide, guard, or nearby components.
Then measure slack exactly as the manual says. Measure at more than one rear-wheel position if your manual instructs it, because tight spots can reveal uneven wear. Harley-Davidson’s guidance says to take repeated deflection measurements while rotating the wheel and compare the average with the owner’s-manual specification. (harley-davidson.com)
If the result is outside specification, do not guess at adjustment. Follow the manual’s adjustment sequence and torque values, or book a service appointment. Correct slack is not a universal number; suspension geometry, chain length, sprocket size, rider load, and the manufacturer’s measurement method all affect it.
3. Apply a chain-safe cleaner sparingly and methodically
Place a catch pan, cardboard, or absorbent mat beneath the chain area if practical. Apply the cleaner following its label directions. Work in short sections instead of emptying an aerosol can onto the entire rear wheel and swingarm.
Use a soft chain brush or soft nylon brush to loosen grime from the side plates, rollers, and sprocket teeth. The aim is to lift contamination off the outside—not to scrub hard enough to force debris toward the seals. Harley-Davidson recommends a motorcycle chain brush and cautions against wire or hard-bristle brushes. (harley-davidson.com)
Avoid treating the chain as a pressure-washing target. High-pressure and steam cleaning can direct force where it does not belong, and both Harley-Davidson and Ducati list those methods among the practices to avoid for sealed chains. (harley-davidson.com)
4. Wipe and dry completely
Use a clean, dry cloth to remove dissolved grime and remaining cleaner. Rotate the rear wheel by hand, section by section, until you have wiped the complete chain. Check sprocket teeth and the chain guard for debris that might transfer back onto the chain.
Drying is not cosmetic. Lubricant applied over residual cleaner may be thinned or displaced, and a wet chain makes it harder to judge whether links are moving consistently. Harley-Davidson’s procedure calls for drying the chain with a dry cloth and removing cleaner before lubrication. (harley-davidson.com)
5. Lubricate with control, not volume
Apply the chain lubricant specified by the manual or a compatible chain lubricant according to its instructions. Rotate the rear wheel slowly by hand and apply a light, even coating across the chain rather than concentrating product in one spot.
On a sealed chain, external lubricant primarily protects the outer components and seals; it does not replace the lubricant originally retained behind intact seals. Harley-Davidson makes this distinction, noting that sealed-chain lubricant mainly serves the outside portions of the chain and rust protection. (harley-davidson.com)
Let the lubricant set for the time stated on its label. Harley-Davidson’s guidance gives a typical settling period of 15–20 minutes, unless the lubricant instructions specify otherwise. (harley-davidson.com) Once it has set, wipe away obvious excess with a clean cloth. A chain should be protected, not dripping.
6. Complete a final inspection before riding
Confirm that the axle hardware, adjusters, cotter pins, clips, guards, and covers are correct for your motorcycle and have not been disturbed incorrectly. Recheck chain slack using the manual’s method if you adjusted anything. Wipe any product from the wheel and nearby components before moving the motorcycle.
Then take a calm, short test ride only if the chain, sprockets, adjustment, and surrounding hardware passed inspection. Listen for new noises and recheck the drivetrain afterward if something feels abnormal.
How Vojo Helps
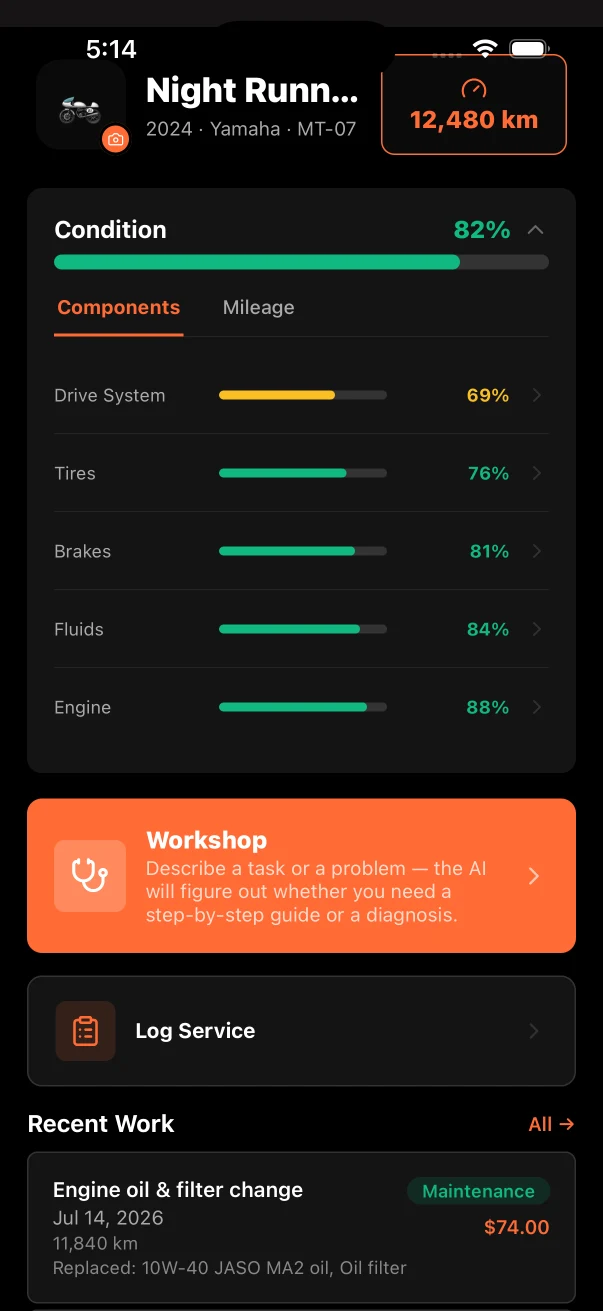
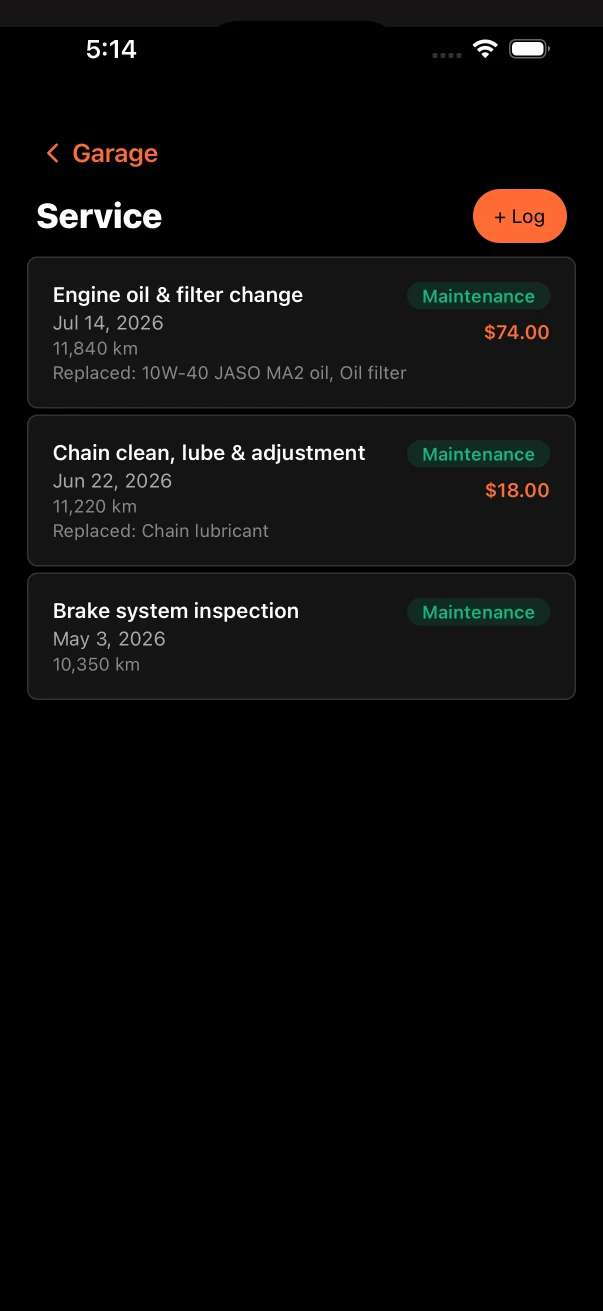
Use Vojo's motorcycle maintenance tracker to connect each chain inspection, cleaning, lubrication, adjustment, and replacement to the motorcycle's current mileage. A full clean is not required every time you look at the chain. The practical habit is a quick, repeatable pre-ride scan:
- glance at the lower chain run for obvious dryness, rust, or debris;
- check that the guard and guide are present and secure;
- look at the rear sprocket teeth when parking the bike;
- notice new driveline noise, snatch, vibration, or uneven slack; and
- inspect after wet, dirty, sandy, or off-pavement riding rather than waiting for a calendar reminder.
This approach is better than chasing a universal mileage rule. Your owner’s manual establishes the baseline interval; weather, road treatment, storage conditions, load, and riding environment determine whether the chain needs attention sooner.
Download Vojo on the App Store
Chain-care checklist
Before you begin
- Read the owner’s manual section for drive-chain inspection, lubrication, and adjustment.
- Confirm your chain type and approved cleaner/lubricant category.
- Park on stable, level ground in a ventilated work area.
- Switch the ignition off, select neutral, and let hot parts cool.
- Use only an approved stand or a safe wheel-on-ground method.
Clean and lubricate
- Rotate the rear wheel by hand only.
- Inspect links, seals, master link, sprockets, guards, and guide before cleaning.
- Use a chain-safe cleaner and soft brush.
- Avoid high-pressure water, steam, gasoline, benzene, aggressive solvents, and hard brushes.
- Wipe away cleaner and dry the chain thoroughly.
- Apply compatible lubricant evenly and allow the label-specified setting time.
- Wipe away obvious excess.
Before the next ride
- Measure chain slack at the manual-specified location.
- Verify adjustment hardware and guards are secure.
- Check that no lubricant remains on the tire, wheel, or brake area.
- Stop and seek qualified service if you find damaged seals, tight links, abnormal wear, or a questionable master link.
The bottom line
Good motorcycle chain care is controlled, model-specific maintenance: inspect first, use seal-compatible products, clean gently, dry completely, lubricate lightly, and verify slack by the owner’s manual. Avoid dramatic shortcuts. A clean-looking chain is useful, but a correctly inspected and correctly adjusted drivetrain is what supports reliable, safer riding.
Inside Vojo
Keep chain inspections tied to the motorcycle
Quick answers
Frequently asked questions
Can I use gasoline to clean a motorcycle chain?
No. Harley-Davidson specifically lists gasoline and benzene among products to avoid on sealed drive chains, and Ducati cautions against fuels and solvents that may damage O-rings. Use the cleaner and lubricant approved in your owner’s manual or clearly compatible with your chain’s seal type. ([harley-davidson.com](https://www.harley-davidson.com/us/en/content/expert-advice/clean-lubricate-motorcycle-chain.html?utm_source=openai))
Should I pressure-wash my motorcycle chain?
Do not direct high-pressure or steam cleaning at a sealed chain. Harley-Davidson lists high-pressure and steam cleaners among methods to avoid, while Ducati gives the same caution for O-ring chains. Clean with a chain-safe product and a soft brush instead. ([harley-davidson.com](https://www.harley-davidson.com/us/en/content/expert-advice/clean-lubricate-motorcycle-chain.html?utm_source=openai))
Do I need to clean the chain every time I lubricate it?
Not necessarily. Inspect first. If the chain has only light dust and is otherwise clean, dry, and in good condition, follow your owner’s manual and lubricant instructions. If it has grit, mud, old buildup, or contamination, clean and dry it before lubricating.
How do I know if my chain slack is correct?
Use the exact measurement location, motorcycle position, and acceptable range in your owner’s manual. Harley-Davidson advises taking multiple deflection measurements while rotating the wheel and comparing the average with the manual’s specification. Do not use another motorcycle’s number. ([harley-davidson.com](https://www.harley-davidson.com/us/en/content/expert-advice/clean-lubricate-motorcycle-chain.html?utm_source=openai))
Can I spin the rear wheel with the engine while applying chain lube?
No. Keep the ignition off and rotate the wheel by hand. Manufacturer procedures describe slow hand rotation for chain inspection, which keeps hands and tools away from a powered chain and sprocket. ([static.nhtsa.gov](https://static.nhtsa.gov/odi/rcl/2024/RCRIT-24V081-9902.pdf?utm_source=openai))