
Low-Speed Motorcycle Turns: A Controlled Parking-Lot Practice Plan Before Tight U-Turns
Learn how to improve low speed motorcycle turns with a conservative parking-lot practice plan, clear limits, progressive drills, and coaching cues.
Fact-checked against cited official documentation
Reviewed against Fact-checked against MSF’s accessible DIY Practice Drills, Basic RiderCourse, and Rider Skills Lab pages for structured practice, low-speed skills, protective gear, and RiderCoach guidance..
Last updated October 9, 2026
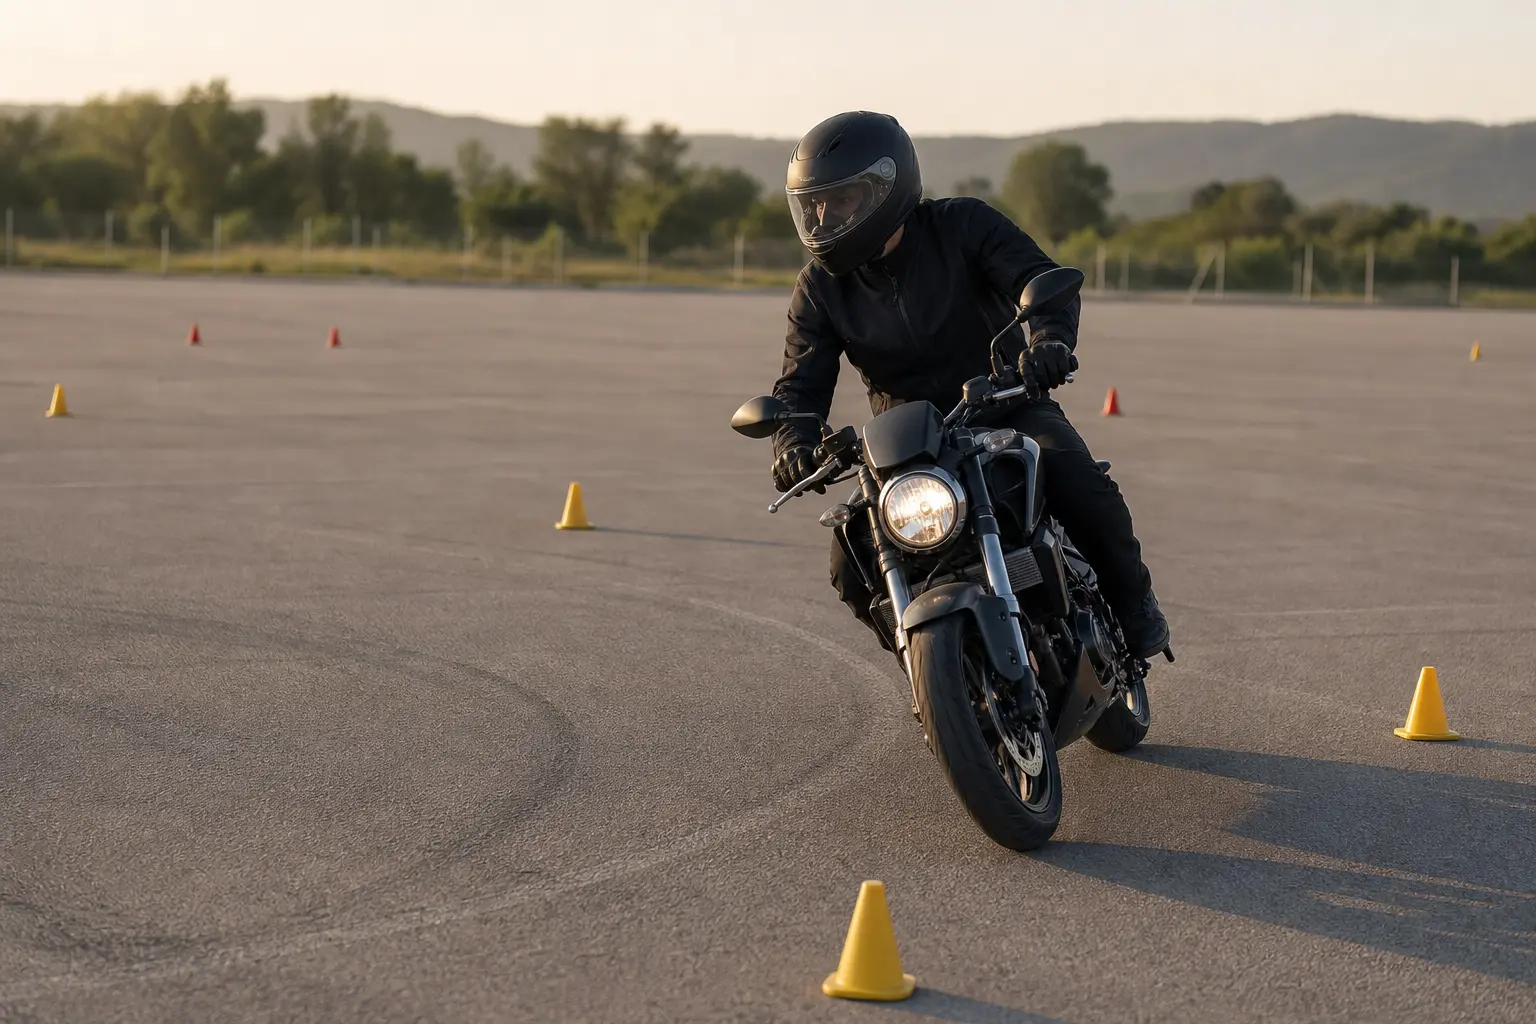
Low-speed motorcycle turns are not a trick to force through when traffic is waiting behind you. They are a control skill best developed in a quiet, legal practice space, with a motorcycle that is ready to ride and a plan that gets gradually more demanding. The useful goal is not to make every turn as tight as possible. It is to make ordinary starts, turns, circles, parking-lot exits, and eventual U-turns feel measured rather than rushed.
That distinction matters. A rider can complete a very tight turn one time while tense, looking down, grabbing at controls, or narrowly avoiding a foot-down. That is not yet dependable control. A better standard is repeatability: you can set up calmly, look through the intended path, make smooth inputs, accept a wider line when needed, and stop the exercise before fatigue or frustration replaces judgment.
The Motorcycle Safety Foundation (MSF) presents self-directed parking-lot resources as a way to refresh techniques, improve control, and build comfort. Its Basic RiderCourse also treats low-speed maneuvering, limited-space turns, and U-turns as coached exercises rather than casual challenges. That is the right frame for solo practice: borrow the structure, reduce the pressure, and choose formal instruction when the skill is beyond what you can evaluate safely on your own.
Start with the real problem, not the tightest possible U-turn
When riders ask how to improve low speed motorcycle turns, the visible problem is often a U-turn. The underlying problem may be different:
- You feel unstable immediately after moving away from a stop.
- You hesitate when the motorcycle begins to lean at walking pace.
- You look at the pavement, curb, cone, or parked vehicle you do not want to hit.
- You become tense because the exercise space feels too small.
- You can turn one direction more confidently than the other.
- You ride acceptably alone but unravel when another rider, traffic, a passenger, or a hill adds pressure.
Treat these as separate observations, not character flaws. Each tells you where to simplify the next practice session. If moving off smoothly is inconsistent, a very tight circle is too advanced for today. If one direction creates a strong urge to put a foot down, work in a spacious arc in that direction rather than repeatedly attempting a narrow turn. If the area is crowded or you feel watched, change the location or end the session. Practice that creates panic rehearses panic.
A parking-lot plan also makes room for a fact that street riding sometimes hides: declining a turn is permitted. On a public road, it can be safer to continue ahead, find a wider place to turn around, or pull into a suitable lot than to force a tight U-turn beside moving traffic. Skill development should expand options, not make you feel obligated to use the smallest available space.
Manufacturer-first readiness before any drill
Do not make a handling problem out of a mechanical, setup, or loading problem. Before a practice session, use the inspection and operating guidance for your exact motorcycle. Its owner’s manual is the controlling source for items such as tire condition and pressure guidance, load limitations, control operation, warning indicators, and any model-specific cautions.
If anything feels changed or questionable—an unfamiliar warning light, damaged control, unusual steering feel, tire concern, fluid leak, loose luggage, or a throttle that does not return normally—do not use repeated low-speed drills to diagnose it. Pause and follow the manufacturer’s instructions or arrange qualified service. Low-speed practice demands frequent steering movement, clutch use, braking, and starts and stops; it is the wrong environment for ignoring a problem.
Wear the protective equipment required by the training provider or applicable law, then add conditions appropriate to the surface and weather. MSF’s Basic RiderCourse identifies a DOT-compliant helmet, eye protection, long sleeves, durable long pants, over-the-ankle boots, and full-finger gloves as required course gear. A parking lot does not eliminate the consequences of a fall, and it can create its own hazards: painted markings, fuel residue, gravel, drains, curbs, potholes, shopping carts, and cars whose drivers are not expecting a rider to loop through a practice area.
Keep the motorcycle in the condition and configuration you intend to learn. Avoid beginning a session with loose cargo, a passenger, unfamiliar accessories, or a heavily loaded setup. If you normally ride with luggage, add that complexity only after you can perform the simpler exercises comfortably and only within the motorcycle’s documented load guidance. For a broader routine before riding, use the Motorcycle Maintenance Guide.
Choose a practice site that gives you permission to be wide
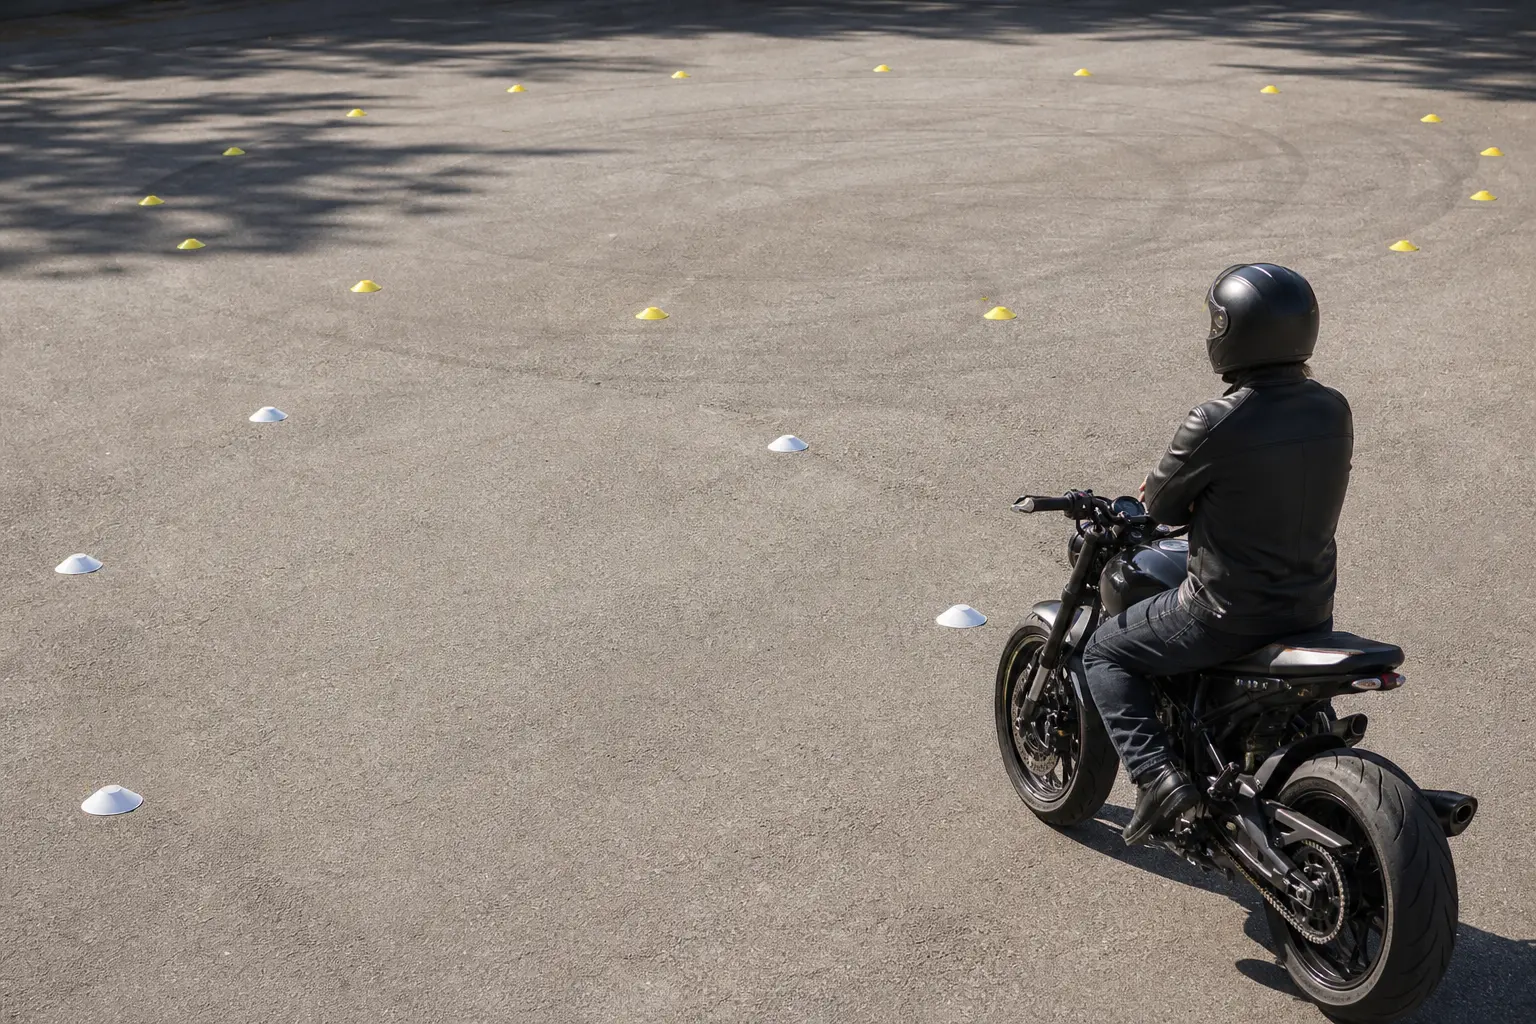
A good practice area is not simply an empty rectangle of pavement. It is a place where you can make a wider turn, stop straight, reset, and leave without conflict. Get permission when appropriate. Do not assume that a retail lot, school lot, apartment area, workplace, or private facility is available just because it appears quiet.
Look for level, clean pavement with a generous buffer to fixed objects and vehicle routes. Early in the session, that buffer is more valuable than a perfectly marked course. A wide space lets you learn from a line that opens up without having to save the turn with abrupt inputs. It also lets you stop and reset rather than ride toward a curb, fence, planter, or parked car.
Avoid sites that introduce unnecessary variables: active traffic lanes, blind driveways, pedestrians, loose material, poor lighting, standing water, heat stress, strong wind, steep slopes, or a surface that makes you uncertain about grip. Markings can help define a route, but a line on the ground is not a reason to continue when the setup has gone wrong.
Bring low, flexible visual markers if they are permitted and cannot create a dangerous obstacle. Their job is to create a reference, not a pass/fail test. Start with generous separation. If a marker makes you stare at it, move it farther away or remove it. Your eyes should organize the space ahead, not lock onto the object you want to avoid.
| Practice element | Conservative setup | What it helps reveal | When to make it harder |
|---|---|---|---|
| Straight rollout and stop | Long, clear lane with room beyond the stopping point | Whether starts and stops feel calm and repeatable | After several smooth repetitions without rushing |
| Broad turns | Open arcs with no nearby fixed objects | Comfort with looking through the path and allowing lean | When both directions feel similarly controlled |
| Large circles | Generous diameter, with a clear escape path | Consistency of vision, body position, and control coordination | When you can maintain the circle without target fixation or foot dabs |
| Figure-eight pattern | Two large, widely separated circles | Direction changes and reset discipline | Only after large circles are relaxed in both directions |
| U-turn-shaped path | A width larger than the turn you eventually want | Whether you can make a plan before entering a constrained space | Reduce space gradually, never because someone is watching |
The practice ladder: make one variable harder at a time
A controlled session should feel almost uneventful at the beginning. Start with familiar movements, then add difficulty in small steps. The MSF’s published course outline progresses through motorcycle familiarization, friction-zone use, starting and stopping, low-speed skills, limited-space maneuvers, and later U-turn assessment. That sequence is a useful reminder that tight turns rest on more basic coordination; they are not the first item to test.
1. Arrive, inspect, and establish a reset routine
Before the first moving drill, walk the area. Identify entrances, exits, debris, painted sections, drainage features, curbs, and the direction from which vehicles or pedestrians may appear. Decide where you will stop if someone enters the space. Put your phone away. If you are practicing with a friend, agree that neither person will ride through the other’s area or offer shouted corrections while the other rider is moving.
Then do a few simple rollouts and straight stops in the most open portion of the area. The task is not to prove anything. It is to notice the motorcycle and your own state. Are your shoulders tense? Are your hands relaxed enough to make small steering inputs? Can you bring the bike to a composed stop and put a foot down without a scramble? If not, stay here. A session can be productive even if it never moves beyond basic control refreshers.
2. Use wide, predictable arcs in both directions
Make relaxed, wide turns that use plenty of pavement. Approach each one at a pace that leaves time to see the route and keep a safe margin. Choose a visual destination beyond the midpoint of the arc. If your head remains pointed at the first few feet of pavement, your body will often follow that uncertainty.
Do not interpret a wider line as failure. A wide line is useful data: it may show that you entered with too little room, began the turn too late, or carried more urgency than the exercise needed. Reset at the end, then use the next pass to change only one thing. Do not stack corrections—such as changing speed, route, posture, and attention all at once—because you will not know what helped.
Practice both directions, but do not chase symmetry in one day. Many riders have a preferred side due to habit, prior experience, motorcycle fit, confidence, or simply how their usual parking areas are laid out. Give the weaker side more patient exposure in a larger space. The aim is to reduce surprise, not force an instant mirror image.
3. Build circles before building a tight turnaround
A circle is a practical intermediate drill because it allows repeated observation without needing a dramatic endpoint. Start with a large radius and an obvious open exit. Ride only as long as you can maintain awareness of the surface and surrounding area. End the circle deliberately, travel straight, stop if needed, and reflect before trying again.
Ask simple questions after each pass: Did I look where I wanted to go? Did I feel rushed? Did I make an abrupt correction? Did I maintain a useful buffer from the boundary? Was I relaxed enough to decide to exit early? These questions are better than asking whether the turn was impressively small.
If a circle becomes ragged, enlarge it. If you put a foot down, do not immediately attempt a smaller one to “make up” for it. Recover by returning to a broader, calmer version. A foot-down is a message that the exercise has exceeded your current margin, not a command to push harder.
4. Link two broad circles with a figure-eight
Once each direction feels manageable on its own, connect two large circles into a roomy figure-eight. The transition is the purpose. It asks you to finish one turn, look to the next path, and accept that the motorcycle will change direction without a sudden demand for a tight radius.
Keep the circles far enough apart that the middle transition can be smooth and unhurried. If you find yourself aiming at a cone or staring at the center, increase the spacing. If your route gets smaller on every pass, stop and reset the markers rather than unconsciously tightening the drill. The course should be deliberately chosen; it should not shrink because anxiety is narrowing your vision.
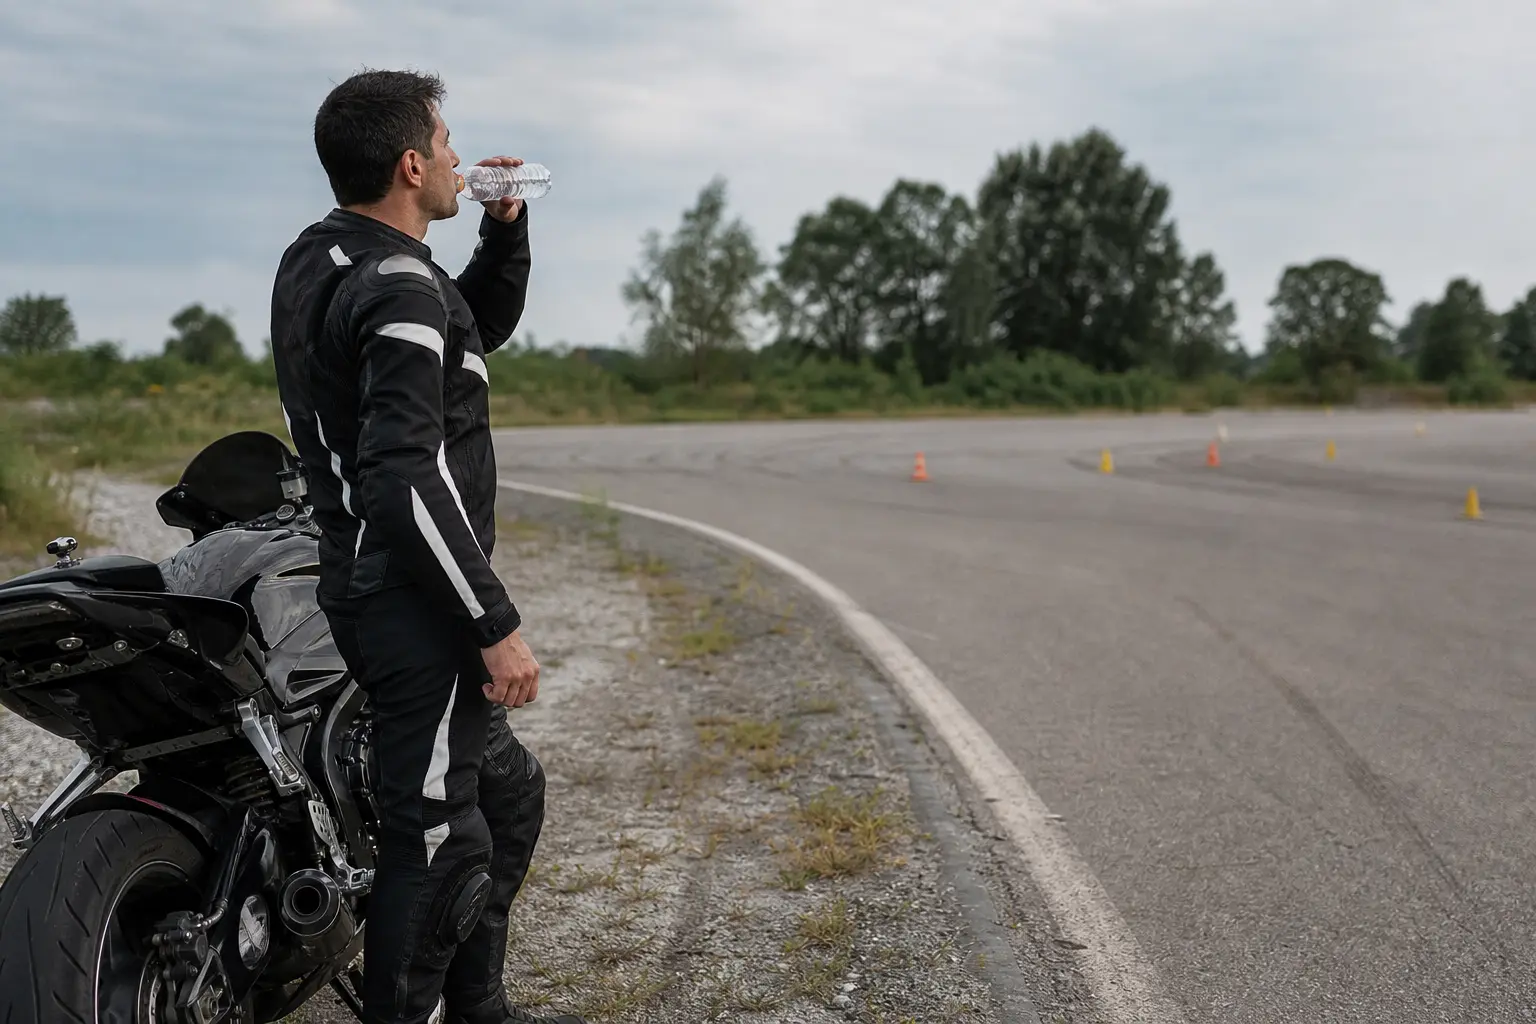
This is a good place to take breaks. Skill practice asks for concentration, and fatigue can show up first as rough starts, rushed decisions, or fixation on markers. A short pause, water, and a walk around the course may be more valuable than ten additional attempts.
5. Introduce the U-turn shape with surplus room
Only after broad circles and figure-eights are consistently calm should you create a U-turn-shaped path. Begin with more room than you think you need and a clear continuation route if you decide not to complete it. The first goal is to enter and exit with control, not to touch an imagined boundary.
Set the turn up early. Look through the path toward the exit, not down at the inside edge or obstacle. Give yourself permission to straighten, stop in a safe place, or continue forward if the setup does not feel right. On the street, that same decision can prevent a rushed maneuver near traffic or fixed hazards.
Reduce the available width only after multiple clean, low-stress repetitions. Make a modest change, then spend time at that new width. Do not narrow the space every pass. Repetition at a manageable level is where the movement becomes familiar enough for you to notice details. A constant escalation plan teaches you only how to tolerate pressure.
A clearly titled checklist: low-speed practice session checklist
Use this checklist before and during every session:
- I have checked my exact motorcycle’s owner’s manual guidance and completed an appropriate pre-ride inspection.
- I have no warning signs, damaged controls, tire concerns, leaks, loose load, or unusual handling symptoms to resolve first.
- I am wearing suitable protective gear, including a helmet and eye protection.
- My practice location is legal or permitted, level, clean, visible, and clear of active vehicle and pedestrian conflict.
- I have walked the area and identified debris, painted surfaces, curbs, drains, entrances, exits, and a safe stopping area.
- My first drill will be easier than the skill I ultimately want to improve.
- I will increase only one variable at a time: turn size, direction change, surface complexity, or pace—not all of them together.
- I will work both directions without forcing the weaker direction into a tight space.
- I will stop if I feel rushed, overheated, frustrated, distracted, or physically fatigued.
- I will choose training with a qualified RiderCoach if I cannot identify why the exercise is breaking down or cannot practice with an adequate safety margin.
What “good” feels like—and what should end the session
Progress is often quieter than riders expect. A better session may mean you used less of the available pavement, but it may also mean you used the same amount of pavement with less tension. You may notice that you start looking farther through the route, can pause before a turn rather than lunging into it, recover from a wide line without panic, or decide to abort early without embarrassment. Those are meaningful gains because they preserve choices.
Do not measure readiness by whether you can exactly duplicate an online demonstration or a friend’s parking-lot pattern. Motorcycle dimensions, rider fit, steering range, power delivery, footwear, physical condition, surface quality, and the day’s environment all affect what feels manageable. The relevant comparison is your own safe, repeatable baseline.
End the session when the quality falls off. Common stop signs include repeated foot dabs, target fixation, abrupt control movements, lapses in scanning, irritation, dehydration, declining concentration, or an urge to keep trying because the last attempt went poorly. Continuing at that point can turn a useful lesson into a fall or a habit of forcing the motorcycle through uncertainty.
Also stop if the environment changes. A lot that was empty can become active. Wind, rain, heat, darkness, surface contamination, and new obstacles reduce the margin that made the drill appropriate. There is no prize for completing a planned number of repetitions when the conditions have changed.
When self-directed practice is not enough
Self-directed drills are valuable for refreshers and careful repetition, but they have limits. You cannot easily see every habit from the saddle. A trained coach can observe whether your visual attention, path selection, posture, and timing are working together, then choose an exercise that matches your current ability.
Formal coaching is the safer next step when you are new to motorcycling, returning after a long break, changing to a substantially different motorcycle, repeatedly dropping or nearly dropping the motorcycle, avoiding one direction, unable to complete basic starts and stops calmly, or feeling pressured by real-world U-turns. It is also appropriate if an injury, mobility limitation, anxiety, or a motorcycle-fit concern affects your control. Asking for coaching is not a failure of independence; it is a direct way to get feedback that solo repetition cannot provide.
MSF describes its Basic RiderCourse as hands-on instruction that includes low-speed maneuvers, cornering, U-turns, and individual RiderCoach feedback. For riders who already have foundational experience, its Rider Skills Lab is structured around practice on the rider’s own motorcycle and can focus on areas such as tight turns. Check current availability, requirements, and local rules before enrolling.
Carry the practice plan into everyday riding
The most useful low-speed skill is often a decision made before the turn begins. In everyday riding, choose a wider entrance when available. Slow early rather than trying to solve a tight path at the last moment. Avoid letting a queue of vehicles set your pace. If a driveway, fuel station, trailhead, or parking aisle is awkward, take another pass or choose a different place to turn around.
Use practice to build a personal rule: if the setup is not there, do not force the maneuver. That rule applies in a quiet lot and at a busy intersection. A rider who can abandon a low-speed turn safely has more control than one who completes a smaller turn while overloaded.
Keep occasional practice sessions short and specific. One day can focus on broad turns and visual attention. Another can focus on figure-eight transitions. A later session can revisit a roomy U-turn shape. Keeping sessions narrow prevents the common trap of trying to improve every riding skill at once. Log what felt stable, what deteriorated, and what you will make easier or more deliberate next time.
How Vojo Helps
Create a recurring low-speed practice entry in the Vojo Motorcycle Maintenance Tracker before you leave: add the location, record the pre-ride check, list the single drill focus (for example, broad circles in both directions), and set a brief follow-up note for immediately after the session. Then record whether the practice area, surface, motorcycle condition, and your energy level supported the plan. Over several sessions, that history helps you see whether confidence is becoming more consistent or whether it is time to book formal coaching instead of making the course smaller.
Download Vojo on the App Store
FAQ
Should I practice low-speed turns in a busy parking lot?
No. Choose a legal or permitted area with enough clear space to stop, reset, and maintain a buffer from vehicles and pedestrians. A busy lot turns a skill exercise into a traffic-management problem and adds pressure that can make a new drill unsafe.
How often should I practice motorcycle U-turns?
Use short, deliberate refreshers rather than waiting until you are under pressure on the street. There is no universal schedule. Practice when you can use an appropriate space, are rested, and can focus on one manageable goal. Stop before fatigue degrades your decision-making.
Why am I better at low-speed turns in one direction?
A preferred direction is common and may reflect habit, confidence, prior practice environments, body comfort, or motorcycle fit. Work the less comfortable direction in a larger, lower-pressure space. Do not make the drill tight simply because the other side feels easier.
Should I keep trying after I put a foot down?
Do not immediately make the drill harder or attempt a tighter version to compensate. Reset, enlarge the exercise, and return to a version you can perform calmly. If foot dabs are frequent or you do not understand why they are happening, formal coaching is a sensible next step.
Can I learn tight turns from videos alone?
Videos can support preparation and recall, but they cannot assess your motorcycle, space, surface, physical condition, or developing habits. Use official training resources as a supplement to a conservative practice plan, and seek a qualified RiderCoach when you need observation and individualized feedback.
When should I take a rider course instead of practicing alone?
Take a course when you are beginning, returning after time away, changing motorcycles, struggling to maintain a margin in basic drills, or unable to identify the cause of repeated problems. MSF’s published programs include foundational training and skills-focused practice with a RiderCoach.
Quick answers
Frequently asked questions
Should I practice low-speed turns in a busy parking lot?
No. Use a legal or permitted area with enough clear space to stop and reset away from vehicles and pedestrians. A busy lot adds traffic pressure to a skill exercise.
How often should I practice motorcycle U-turns?
Use short, deliberate refreshers when you are rested and have an appropriate practice area. There is no universal interval; stop before fatigue reduces control or judgment.
Why am I better at turns in one direction?
Habit, confidence, comfort, prior practice, and motorcycle fit can all contribute. Make the less comfortable direction easier and roomier instead of forcing a tight turn.
Should I continue after putting a foot down?
Reset and return to a larger, calmer version of the drill. Do not compensate by making the next attempt tighter. Seek coaching if the pattern repeats or its cause is unclear.
When is a rider course better than solo practice?
Choose formal coaching when you are new or returning, changing motorcycles, repeatedly losing margin in basic drills, or need individualized feedback on what is breaking down.