
Motorcycle Clutch Cable Inspection: Fraying, Kinks, Routing, and No-Ride Clues
Learn the motorcycle clutch cable fraying symptoms to spot while parked, how to assess routing and lever feel, and when damage means do not ride.
Fact-checked against cited official documentation
Reviewed against MSF and Harley-Davidson TCLOCS guidance on cable condition, routing, lubrication, and normal clutch-control operation; model-specific service directions remain owner-manual dependent..
Last updated October 8, 2026
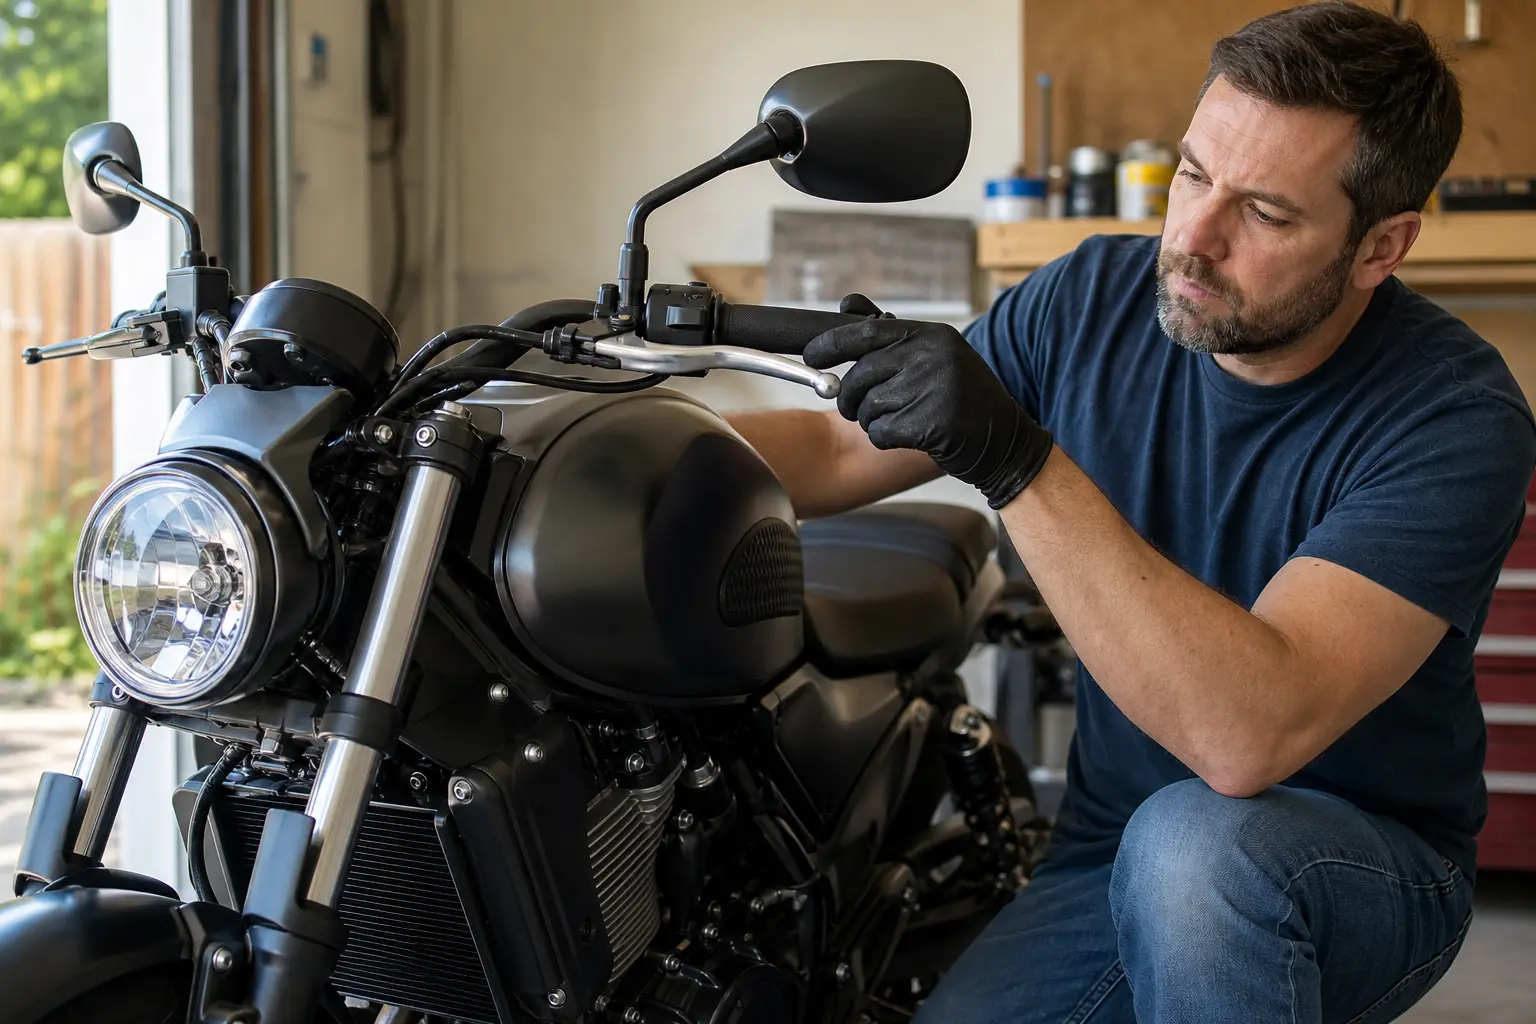
Motorcycle clutch cable fraying symptoms deserve attention before a ride, not after the lever starts behaving unpredictably in traffic. On a motorcycle equipped with a mechanical clutch cable, the cable connects your hand lever to the clutch-actuating mechanism. That makes it part of a control system you use repeatedly when starting, shifting, slowing, stopping, and maneuvering at low speed.
This is not a guide to adjusting or repairing a clutch cable. It is a conservative, parked-bike inspection framework for recognizing visible damage, poor routing, and abnormal operation—then making a sensible ride or no-ride decision. If the motorcycle has a hydraulic clutch rather than a cable, this article does not apply; use the owner’s manual and inspect that system according to its model-specific guidance instead.
The Motorcycle Safety Foundation’s T-CLOCS checklist places cables in the controls portion of a pre-ride inspection. It calls out fraying, kinks, lubrication, and routing that avoids interference or pulling at the steering head and suspension. Harley-Davidson’s TCLOCS guidance likewise directs riders to check control operation and inspect cables for fraying, kinks, other damage, and lubrication. Those are useful broad inspection prompts, but your exact motorcycle’s owner’s manual remains the authority for its cable route, free-play specification, approved lubricant, adjustment limits, and replacement requirements.
A practical rule is simple: if you can see cable-wire damage, if the cable housing is compromised, if routing changes as the handlebars move, or if the clutch lever no longer behaves normally, pause the ride and arrange qualified inspection. A cable may still move after damage begins, but “it worked in the garage” is not the standard to use for a safety-critical control.
For a broader routine that keeps controls from becoming an afterthought, add this check to your Motorcycle Maintenance Guide.
Start by Confirming That You Have a Cable Clutch
Before diagnosing a suspected cable issue, identify the system in front of you. A cable-equipped clutch normally has a flexible outer housing running away from the lever perch toward the engine or transmission area. The inner cable moves within that housing when you pull and release the lever. You may see an adjuster area, protective boots, clips, or guides along the route.
A hydraulic clutch instead uses a master-cylinder reservoir at the lever and a hydraulic line. It can have different warning signs and maintenance needs. Do not assume that a line that resembles a hose is a clutch cable, and do not apply cable-lubrication or cable-adjustment advice to a hydraulic system.
The owner’s manual is the first check because motorcycle layouts vary. A cable may take a route that is visually direct but intentionally shaped to preserve clearance through steering movement and suspension travel. Another model may conceal much of the cable beneath bodywork or the fuel tank. The fact that two motorcycles use cable clutches does not mean their routing, inspection access, or service limits are interchangeable.
This distinction matters for safety as well as accuracy. A rider who mistakes a hydraulic line for a cable may overlook the relevant fluid or leakage inspection. A rider who assumes every cable should follow the shortest path may inadvertently create a routing problem. Inspect what the manufacturer installed, compare it with the manual where possible, and leave design changes or uncertain routing to a qualified technician.
Why a Small Cable Defect Can Become a Bigger Control Problem
A clutch cable is not just a cosmetic item running beside the frame. It must move through its route without excessive resistance or unwanted tension while the handlebars turn and the suspension works. Its outer housing needs to remain intact, supported, and clear of sharp bends, rubbing points, hot surfaces, moving parts, and pinch hazards.
When individual wires begin to separate, the cable is no longer in the same condition as a smooth, intact strand. Frayed wire can catch on adjacent material, concentrate movement in a damaged area, or progress further with use. A kink can distort the cable’s path and make lever movement feel inconsistent. A damaged housing can permit contamination or expose the inner cable to conditions it was not designed to tolerate.
The point is not to predict exactly when a cable will fail. A visual inspection cannot reliably provide a countdown, and an apparently minor defect may look very different once the system is loaded in real riding. The point is to identify conditions that remove confidence from a primary control.
Treat a clutch cable concern more seriously when it appears alongside a change in how the motorcycle behaves. Examples include a lever that feels rough, catches partway through its travel, returns differently than usual, needs noticeably different force, or changes feel when you turn the handlebars. None of these observations proves one particular fault. Together, however, they are enough to stop guessing and have the cable, its route, and related clutch-control components assessed correctly.
Motorcycle Clutch Cable Fraying Symptoms to Look For
Fraying is the clearest visual warning because it concerns the cable’s individual wire strands. You may find it near an exposed cable end, at an adjuster, beside the lever, near the engine-side connection, or anywhere the outer housing has moved or worn away. Do not assume that the visible ends are the only places worth checking; inspect every accessible section, especially where the cable enters or exits housings and supports.
Look rather than probe. A frayed cable can have sharp wire ends, and pulling at it with fingers, tools, or improvised picks can worsen the damage or injure you. Good lighting and a calm visual pass are more useful than force.
| What you notice while parked | What it can tell you | Conservative next step |
|---|---|---|
| Individual wire strands are visible or separated | The inner cable is damaged | Do not ride; arrange qualified service or replacement according to the model manual. |
| A strand is bent outward, broken, or catching on a nearby part | Cable condition is no longer dependable | Keep hands clear of sharp strands and do not continue testing the lever. |
| Outer housing is split, crushed, abraded, or displaced | The cable assembly may be exposed to damage or may not move consistently | Do not assume lubrication solves it; have the complete cable and route inspected. |
| A tight bend or flattened section appears in the cable path | Routing or housing condition may be compromised | Compare with the owner’s manual or have a technician verify the route. |
| Lever action feels rough, sticky, intermittent, or unfamiliar | A cable, lever, routing, or related clutch-control concern needs assessment | Do not use a road test to diagnose it; arrange inspection. |
| Lever feel changes as the handlebars move through their range | Cable routing may be pulling, pinching, or interfering | No ride until the routing and control operation are checked. |
Fraying is a no-ride clue because it is direct evidence of damage, not merely an adjustment preference. The safest response is not to trim a loose strand, tape over it, or keep riding until the next scheduled service. Those actions can hide evidence without restoring the cable’s integrity.
Also distinguish fraying from ordinary grime. Dust on a cable housing may be unattractive but does not by itself show cable failure. By contrast, exposed metal strands, broken wire, or a visibly compromised outer casing are conditions that deserve escalation even if the lever still appears to work while the motorcycle is parked.
Inspect Kinks, Housing Damage, and Abrasion Without Taking Things Apart
A cable can be compromised even if no wire strands are visible. The outer housing guides and protects the moving inner cable. A crushed, sharply bent, split, melted, or badly rubbed housing deserves the same deliberate attention as exposed inner-wire damage.
Begin at the clutch lever and visually follow the cable as far as you can without removing panels, loosening fasteners, or disturbing clips. Use a flashlight to inspect sections that pass behind the fork area, alongside the frame, or near the engine. You are looking for changes in shape and surface condition, not trying to force access to every hidden inch.
A kink is more than a gentle curve designed into the route. It is an abrupt, unnatural bend or flattened area that interrupts the housing’s smooth shape. Its cause may be accidental pinching, an incorrect prior installation, luggage or accessory interference, a crash, or movement after other work. You do not need to determine the cause at home to recognize that the condition should be evaluated.
A housing abrasion may appear as a worn patch, a polished area, missing protective covering, or visible contact with another component. On its own, a light mark does not reveal the state of the inner cable. But deep wear, exposed structure, an open split, or a point where the cable appears trapped calls for professional attention. The important question is not “Can I make it through one more trip?” It is “Can this control operate predictably through every steering and suspension movement I may encounter?”
Avoid a common trap: repeatedly pulling a suspect lever to see whether the condition improves. If the cable feels abnormal, repeated operation can add movement at the very point you are concerned about. A single gentle, stationary check can establish that something has changed. Continuing to cycle the control is not a diagnostic substitute for inspection.
Check Routing at the Steering Head and Through Suspension Movement
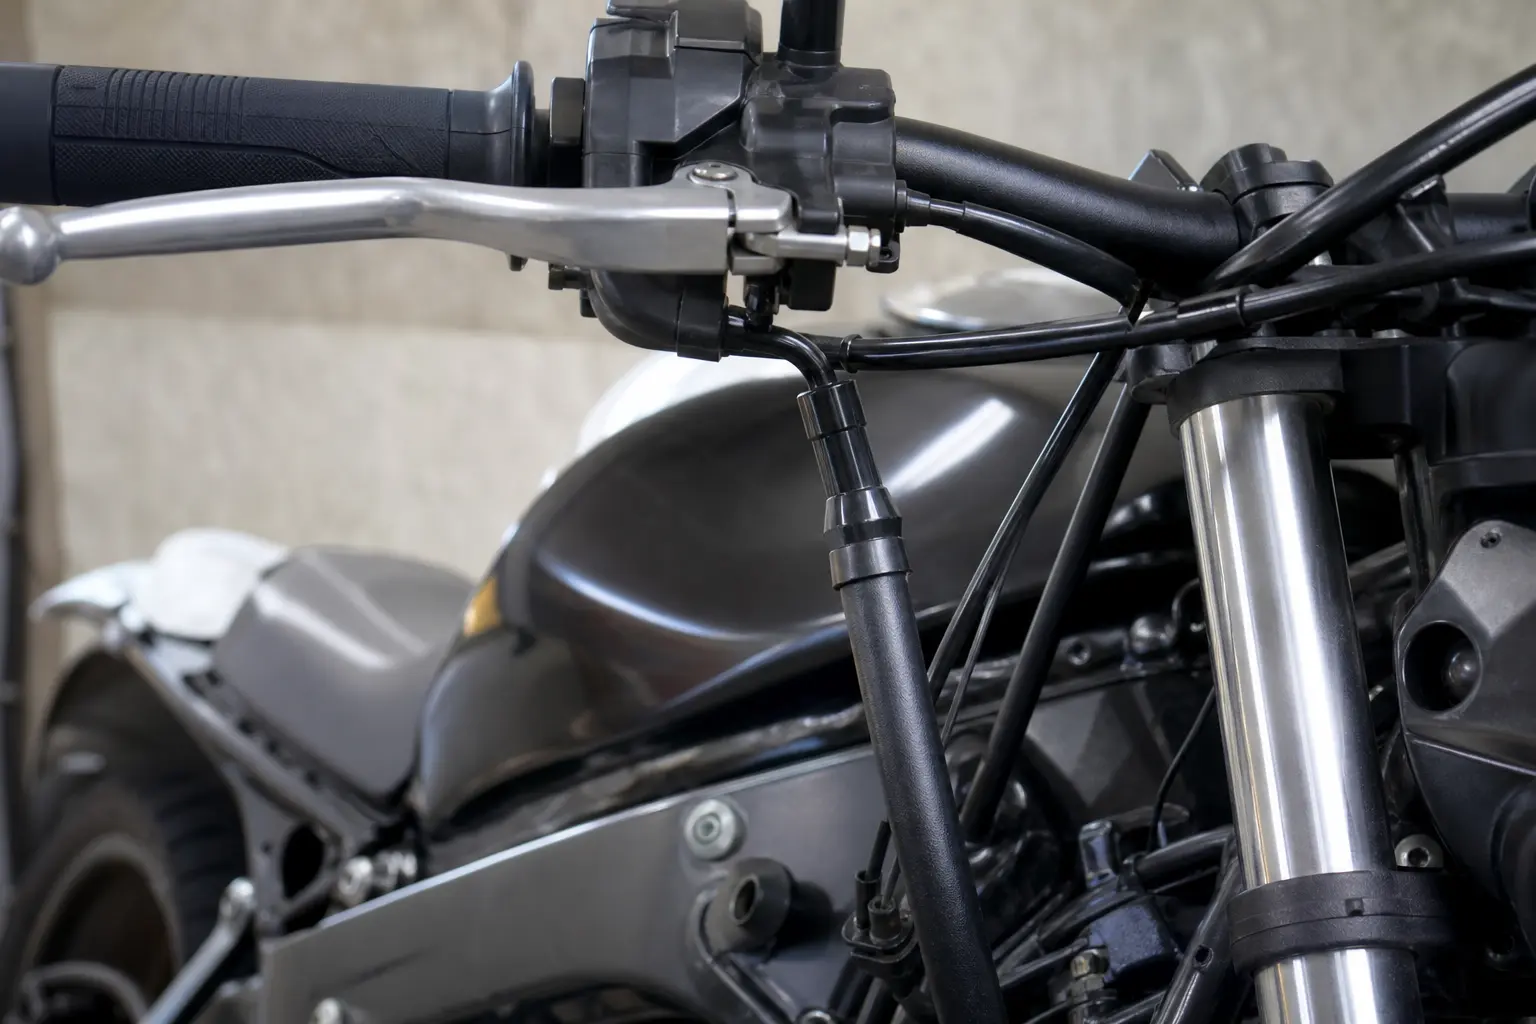
Cable routing is one of the most important parts of this inspection because a cable can look intact while being positioned poorly. MSF specifically identifies routing concerns that include interference or pulling at the steering head or suspension, sharp angles, and missing supports. That gives riders a practical visual framework: follow the cable, then consider what happens when the motorcycle’s moving assemblies change position.
With the motorcycle securely parked and the engine off, stand where you can see the cable near the steering head. Move the handlebars smoothly through their normal range without forcing them against a stop or trapping your hands. Watch the cable rather than only watching the front wheel.
You are not measuring a specification. You are checking for obvious changes that should not be ignored:
- The cable is pulled taut at one steering position.
- The cable catches, shifts suddenly, or presses into another component.
- The housing folds into an unusually sharp angle.
- The cable drags across an edge, fastener, accessory mount, or body panel.
- A guide, clip, boot, or support appears loose, missing, or displaced.
- Lever feel changes noticeably as steering position changes.
If any of these occur, do not attempt to reroute the cable by guessing. The correct route can depend on fork travel, fairing clearance, wiring placement, brake-line routing, lock-to-lock steering range, and model-specific attachment points. A route that seems fine with the bike stationary may behave differently while the suspension compresses or the steering moves during a maneuver.
The same principle applies to modifications. Taller handlebars, risers, aftermarket levers, hand guards, fairings, luggage systems, crash protection, or work performed near the front of the motorcycle can alter clearances. This does not mean every accessory causes a cable problem. It means a change in the motorcycle’s layout is a reason to inspect the control path rather than rely on memory.
Lever Feel Is a Warning Signal, Not a Diagnosis
Riders become familiar with their clutch lever’s normal travel and effort. That familiarity is useful. If it suddenly feels heavier, lighter, rougher, sticky, notchy, slow to return, or different at certain handlebar positions, treat the difference as information.
It is tempting to label every unusual lever feel as “the cable needs lubrication” or “the clutch needs adjustment.” That is too narrow. The feel can be influenced by the lever pivot, the cable, the housing, the cable route, the clutch-actuating mechanism, or a model-specific issue elsewhere in the system. A parked inspection can identify visible clues, but it should not turn into confident remote diagnosis.
A useful way to sort observations is by confidence:
| Observation | What you can reasonably conclude | What you should not conclude |
|---|---|---|
| Cable strands are visibly frayed | The cable is damaged and riding should pause | The exact remaining service life or the only cause of damage |
| Housing is crushed or split | The assembly needs professional assessment | That a surface treatment will restore the cable |
| Lever action is abnormal | The control system needs further attention | That a specific component is definitely at fault |
| Feel changes during steering movement | Routing or interference needs investigation | That a quick reroute is safe without model guidance |
| No visible defect but operation is unfamiliar | A normal baseline has changed and should be evaluated | That the system is safe because damage is not obvious |
This approach prevents two opposite mistakes: dismissing a real warning because you cannot name the precise failure, or taking apart a control system based on a guess. Manufacturer-first maintenance means confirming the model’s intended condition and getting qualified help when the inspection finds damage or uncertain operation.
Clearly Titled Checklist: Parked Motorcycle Clutch Cable Inspection
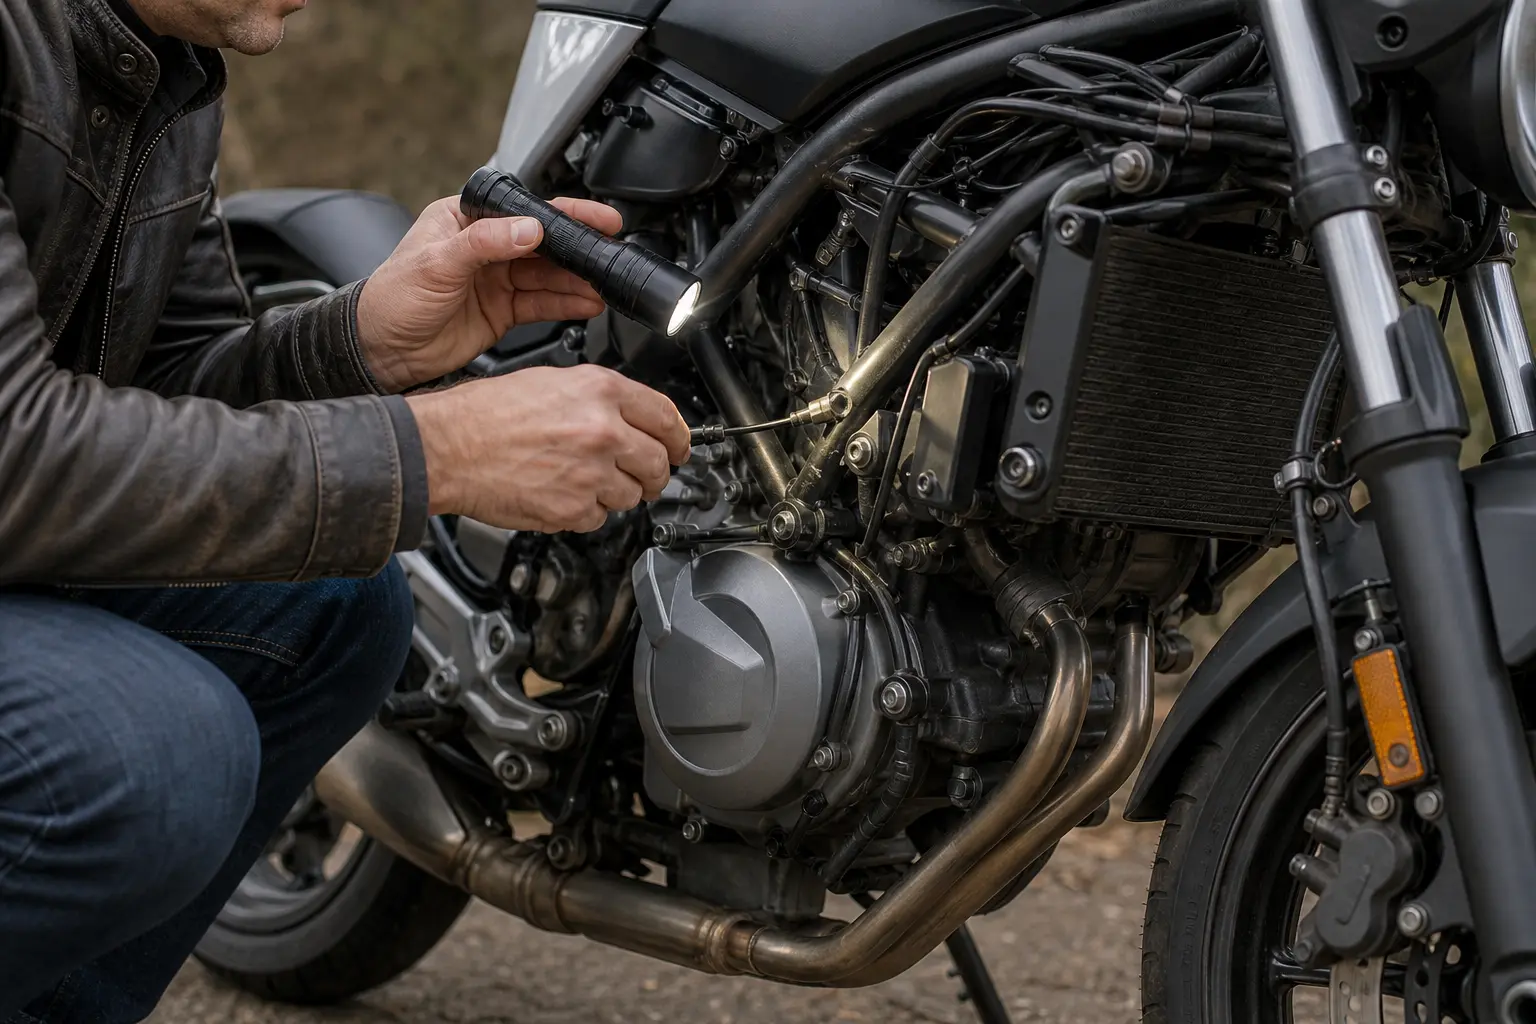
Use this checklist before a ride when you have noticed a symptom, after the motorcycle has been dropped or transported, after front-end or handlebar work, or as part of a deeper pre-ride review. It applies only to cable-operated clutches.
Parked Motorcycle Clutch Cable Inspection Checklist
- Park on stable, level ground using the motorcycle’s normal secure parking method.
- Switch the engine off and let hot components cool before working near them.
- Confirm from the owner’s manual that your motorcycle uses a cable clutch.
- Inspect the clutch lever and perch for obvious cracks, looseness, impact damage, or obstruction.
- Look at the cable where it leaves the lever area; check for exposed strands, broken wires, or a damaged boot.
- Follow every accessible section of the outer housing with a light; look for splits, crushing, sharp kinks, deep abrasion, melting, or displaced supports.
- Inspect accessible lower-end areas for wire damage, housing damage, rubbing, or interference.
- Check that guides, clips, and supports visible from outside the motorcycle appear present and secure.
- Slowly move the handlebars through their normal range while observing whether the cable pulls tight, snags, changes position abruptly, or contacts another component.
- Notice whether the clutch lever’s movement and return feel normal for your motorcycle, without repeatedly cycling a suspect control.
- Stop the inspection and choose no-ride if you see fraying, broken wire, serious housing damage, abnormal routing, pulling at steering movement, or unusual control operation.
- Consult the owner’s manual and arrange qualified service rather than attempting an unverified repair or adjustment.
This checklist is deliberately conservative. It does not tell you to set free play, remove the cable, lubricate it, change its route, or replace it. Those tasks are model dependent, and exact methods, products, access steps, and torque requirements belong in official documentation for your motorcycle or in the hands of a qualified technician.
When the Right Answer Is Do Not Ride
Not every mark on a cable housing automatically means the motorcycle is unsafe to move. But certain conditions are clear enough that the next trip should not be used as a test. Choose no-ride and arrange service if you find any of the following:
- Visible frayed, broken, or separated cable strands. This is direct cable damage.
- A cable housing that is split, crushed, badly kinked, melted, or pulled out of its normal location. The cable assembly may not operate consistently.
- A cable that becomes taut, snagged, pinched, or interferes with other parts as the handlebars move. Steering-related pull or interference is not a condition to rationalize.
- A clutch lever that sticks, catches, binds, fails to return normally, or feels substantially different from its familiar baseline. Abnormal operation needs assessment before traffic, hills, stop-and-go riding, or emergency avoidance add pressure.
- Any unexplained change after a drop, collision, transport incident, accessory installation, or repair work. The cable route and supports may have changed even if the defect is not immediately obvious.
If a concern appears while riding, avoid trying to diagnose it at speed. Prioritize a calm, controlled stop in a safe location, avoid unnecessary shifting or repeated lever use, and arrange appropriate assistance. Once parked, do not resume just because the symptom seems to fade. A changing control is still a control that needs inspection.
What Not to Do With a Suspect Clutch Cable
When a cable looks damaged, improvisation can create more uncertainty than it removes. Avoid these responses:
- Do not cover fraying with tape, shrink material, or a sleeve and call it repaired.
- Do not clip off exposed wire strands. Removing visual evidence does not restore the cable.
- Do not spray an unspecified product into the cable because it is nearby. The owner’s manual determines whether lubrication is specified and what product is appropriate.
- Do not bend the cable into a new route based only on what looks tidier.
- Do not loosen or alter adjusters without the exact manual procedure and an understanding of the resulting settings.
- Do not test a questionable cable by taking a short ride around the block.
- Do not assume a smooth lever proves the cable is sound if you can see wire damage or housing damage.
These boundaries are not about discouraging maintenance. They are about matching the task to the evidence. A rider can make an excellent contribution by spotting abnormal condition early, documenting it, checking the official manual, and communicating precise observations to a service professional.
Build Cable Checks Into a Useful Maintenance Habit
A cable inspection works best when it has a trigger and a record. Rather than trying to remember every small change, add a quick cable glance to the controls section of your routine. Perform a more deliberate parked inspection whenever something changes: a new lever feel, a steering-related issue, a recent drop, a service visit, a modification, a long storage period, or visible rubbing near the front end.
The goal is to recognize change against a known baseline. Take a clear photo of the cable’s accessible routing when it is known to be correct. Note the date, mileage, recent work, and any observation such as “light abrasion beside steering head” or “lever felt normal lock to lock.” If you later see a new mark or feel a new symptom, that history gives you and a technician a more useful starting point than a vague memory.
Do not create a generic replacement interval from another rider’s experience or another motorcycle’s maintenance schedule. The sources used here support inspecting cable condition, routing, lubrication status, and control operation; they do not establish one universal mileage or time limit for every clutch cable. Your motorcycle’s official schedule and condition are the relevant guides.
A cable check should also sit within a whole-bike pre-ride habit. Controls are interconnected with steering clearance, suspension movement, fasteners, lights, tires, fluids, and stands. A focused clutch-cable finding may lead you to notice a displaced clip, pinched wiring, an accessory contact point, or other conditions that should be assessed before riding.
How Vojo Helps
Create a recurring Controls Inspection task in the Vojo motorcycle maintenance tracker, then use the note field to record the date, odometer reading, lever feel, visible cable condition, and whether steering movement changed the cable’s position. Attach a photo when you notice abrasion, a displaced guide, or a questionable bend. If the inspection produces a no-ride clue, mark the task unresolved and log the service visit afterward so the cable concern, diagnosis, and completed work stay connected in your motorcycle history.
Download Vojo on the App Store
A Calm Decision Framework for Cable-Clutch Concerns
The most useful inspection outcome is not always a complete explanation. Often it is a clear next decision.
Ride only when the cable appears intact, its accessible housing and supports appear sound, routing does not interfere through normal steering movement, and clutch operation is familiar and normal for your motorcycle. This is not a substitute for the owner’s manual; it is a practical threshold for deciding that there is no obvious reason to pause.
Pause and monitor only when you have a minor, non-damage observation that you can document and compare against the manual or a technician’s advice. For example, surface dirt may simply call for normal cleaning around the area, not a diagnosis. If you are uncertain whether a mark is superficial or is exposing the cable assembly, treat uncertainty as a reason for inspection rather than reassurance.
Do not ride when there is visible damage or abnormal operation. Fraying, broken strands, substantial housing damage, a cable pulled tight at steering movement, an apparent pinch point, or a changed lever action each move the question beyond an ordinary pre-ride check. Professional service is the safer next step.
This framework avoids false precision. You do not need to know the exact internal condition of the cable to recognize that exposed wires or abnormal operation are unacceptable. And you do not need to perform an exact repair procedure to take the correct first action: stop riding, preserve the evidence, consult the model documentation, and obtain qualified help.
Related Posts
Quick answers
Frequently asked questions
What are the most important motorcycle clutch cable fraying symptoms?
The clearest symptom is visible separation, breakage, or protrusion of individual wire strands. Also treat a split or crushed housing, an abrupt kink, a cable that pulls tight during steering movement, or abnormal lever action as reasons to stop riding and arrange inspection.
Can I ride if one small clutch-cable strand is sticking out?
No. A visible loose or broken strand is evidence of cable damage. Do not trim, tape, or cover it and continue riding; have the cable assembly assessed and serviced according to your motorcycle’s official documentation.
Why does my clutch lever feel different when I turn the handlebars?
A change in lever feel during steering movement can indicate that cable routing is pulling, pinching, or interfering somewhere near the steering head or another moving area. Do not road-test the symptom. Keep the motorcycle parked and have the routing and control system inspected.
Is a kink in the clutch cable always a no-ride issue?
A gentle factory-designed curve is not necessarily a kink. An abrupt bend, flattened housing, sharp angle, or section that looks pinched is a concern because it can affect cable movement or indicate incorrect routing. If you cannot confirm it matches the owner’s manual, choose qualified inspection before riding.
Should I lubricate a clutch cable if the lever feels stiff?
Do not assume stiffness means lubrication is the answer. Lever feel can involve the cable, housing, routing, lever pivot, or clutch-actuating components. Check the owner’s manual for approved maintenance and have visible damage or abnormal operation evaluated before applying any product.
How often should I inspect a motorcycle clutch cable?
Include a quick control-and-cable glance in regular pre-ride checks, then do a closer parked inspection whenever lever feel changes, the motorcycle is dropped or transported, work is done near the handlebars or front end, or you see rubbing or damaged supports. Follow your exact owner’s manual for model-specific maintenance.